
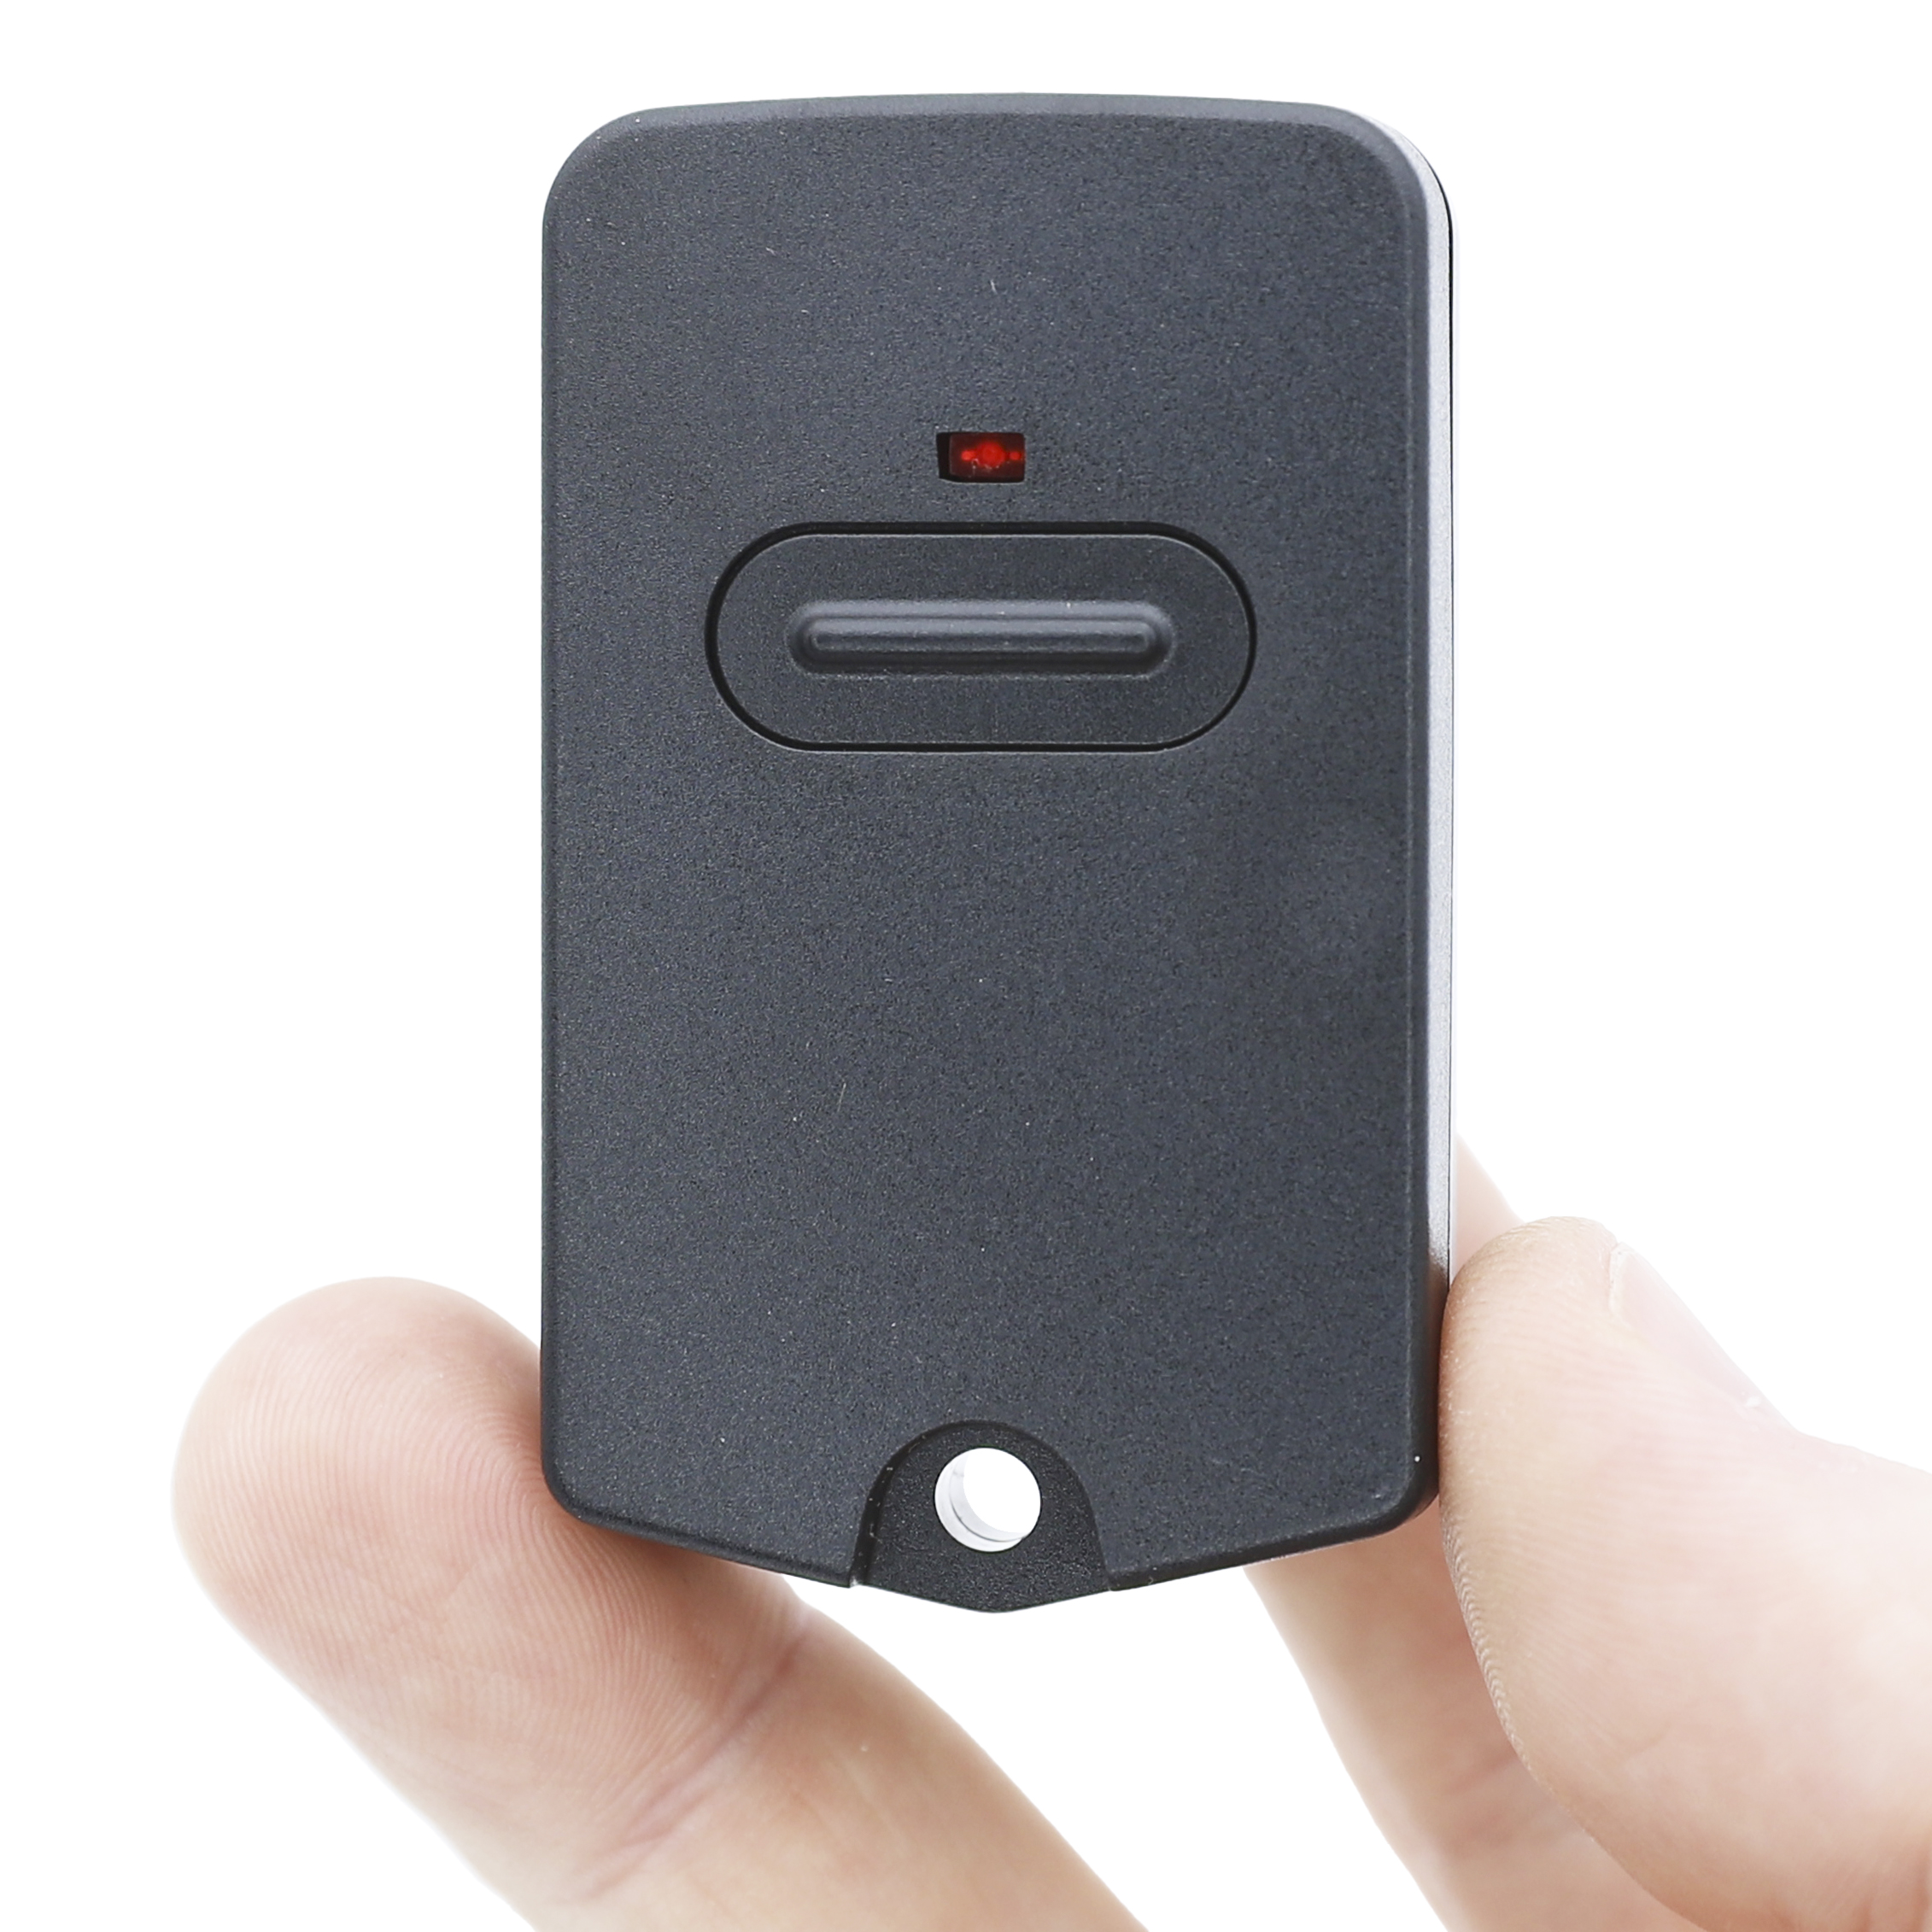
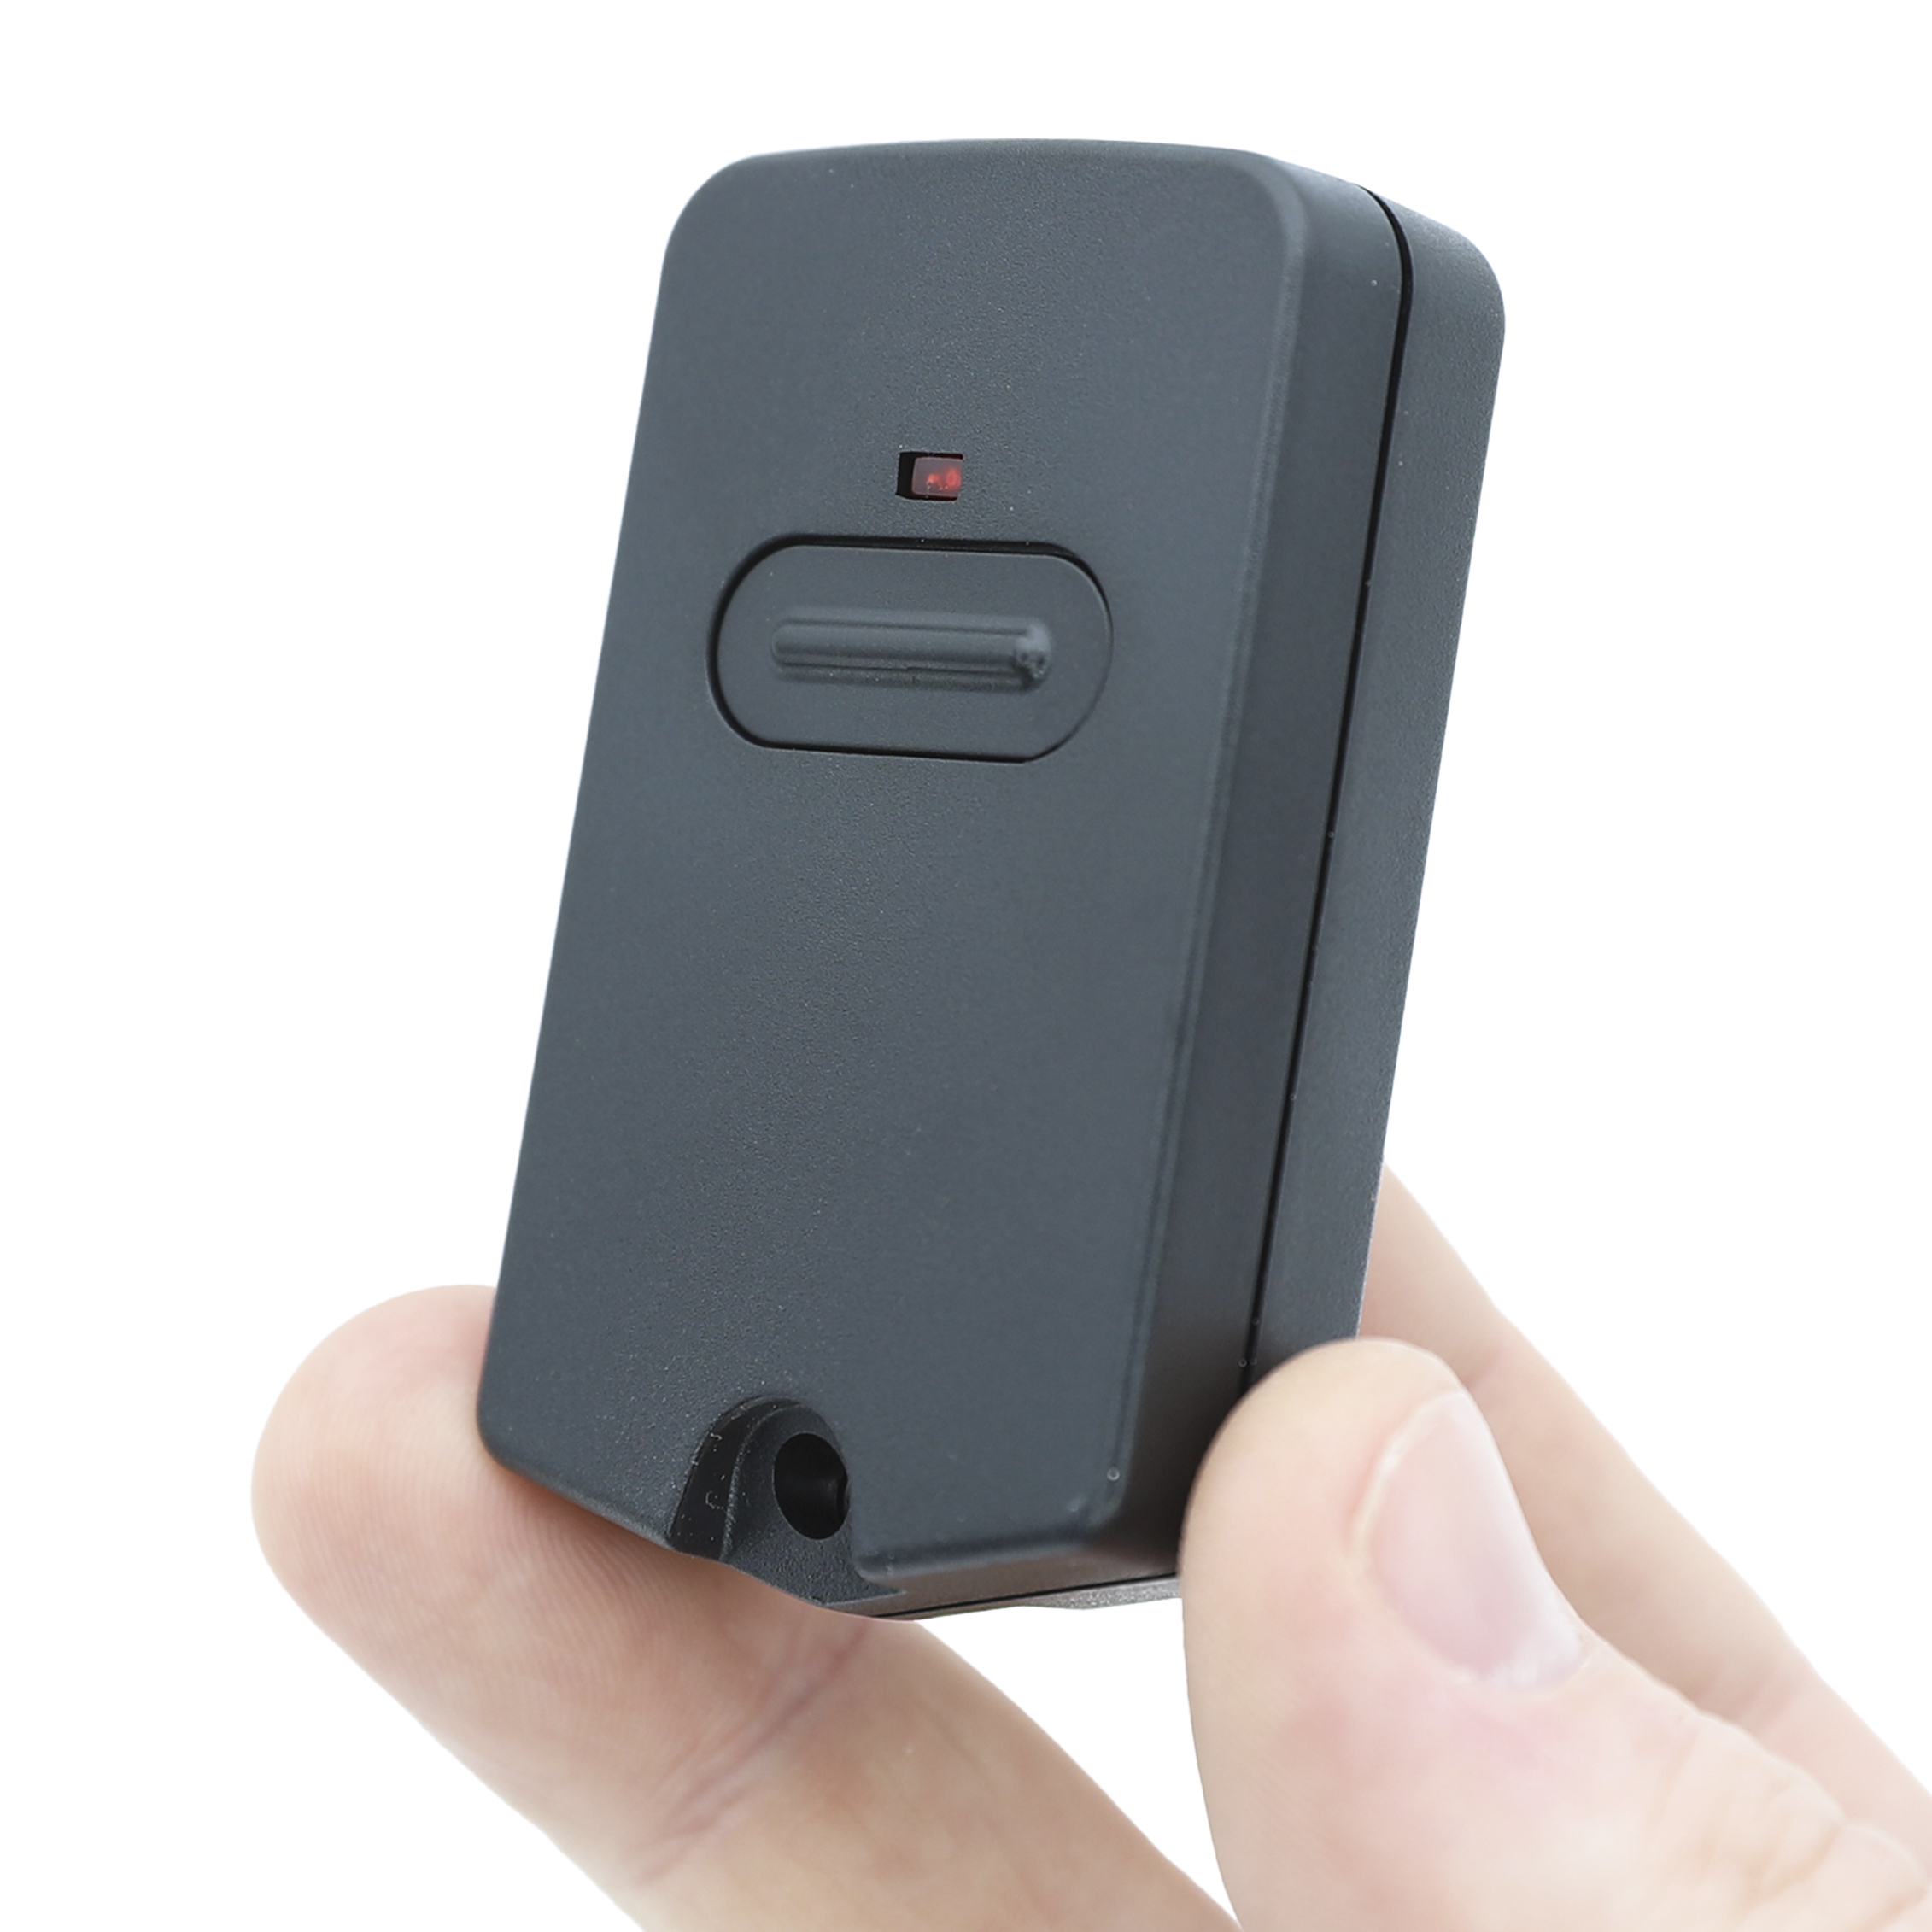
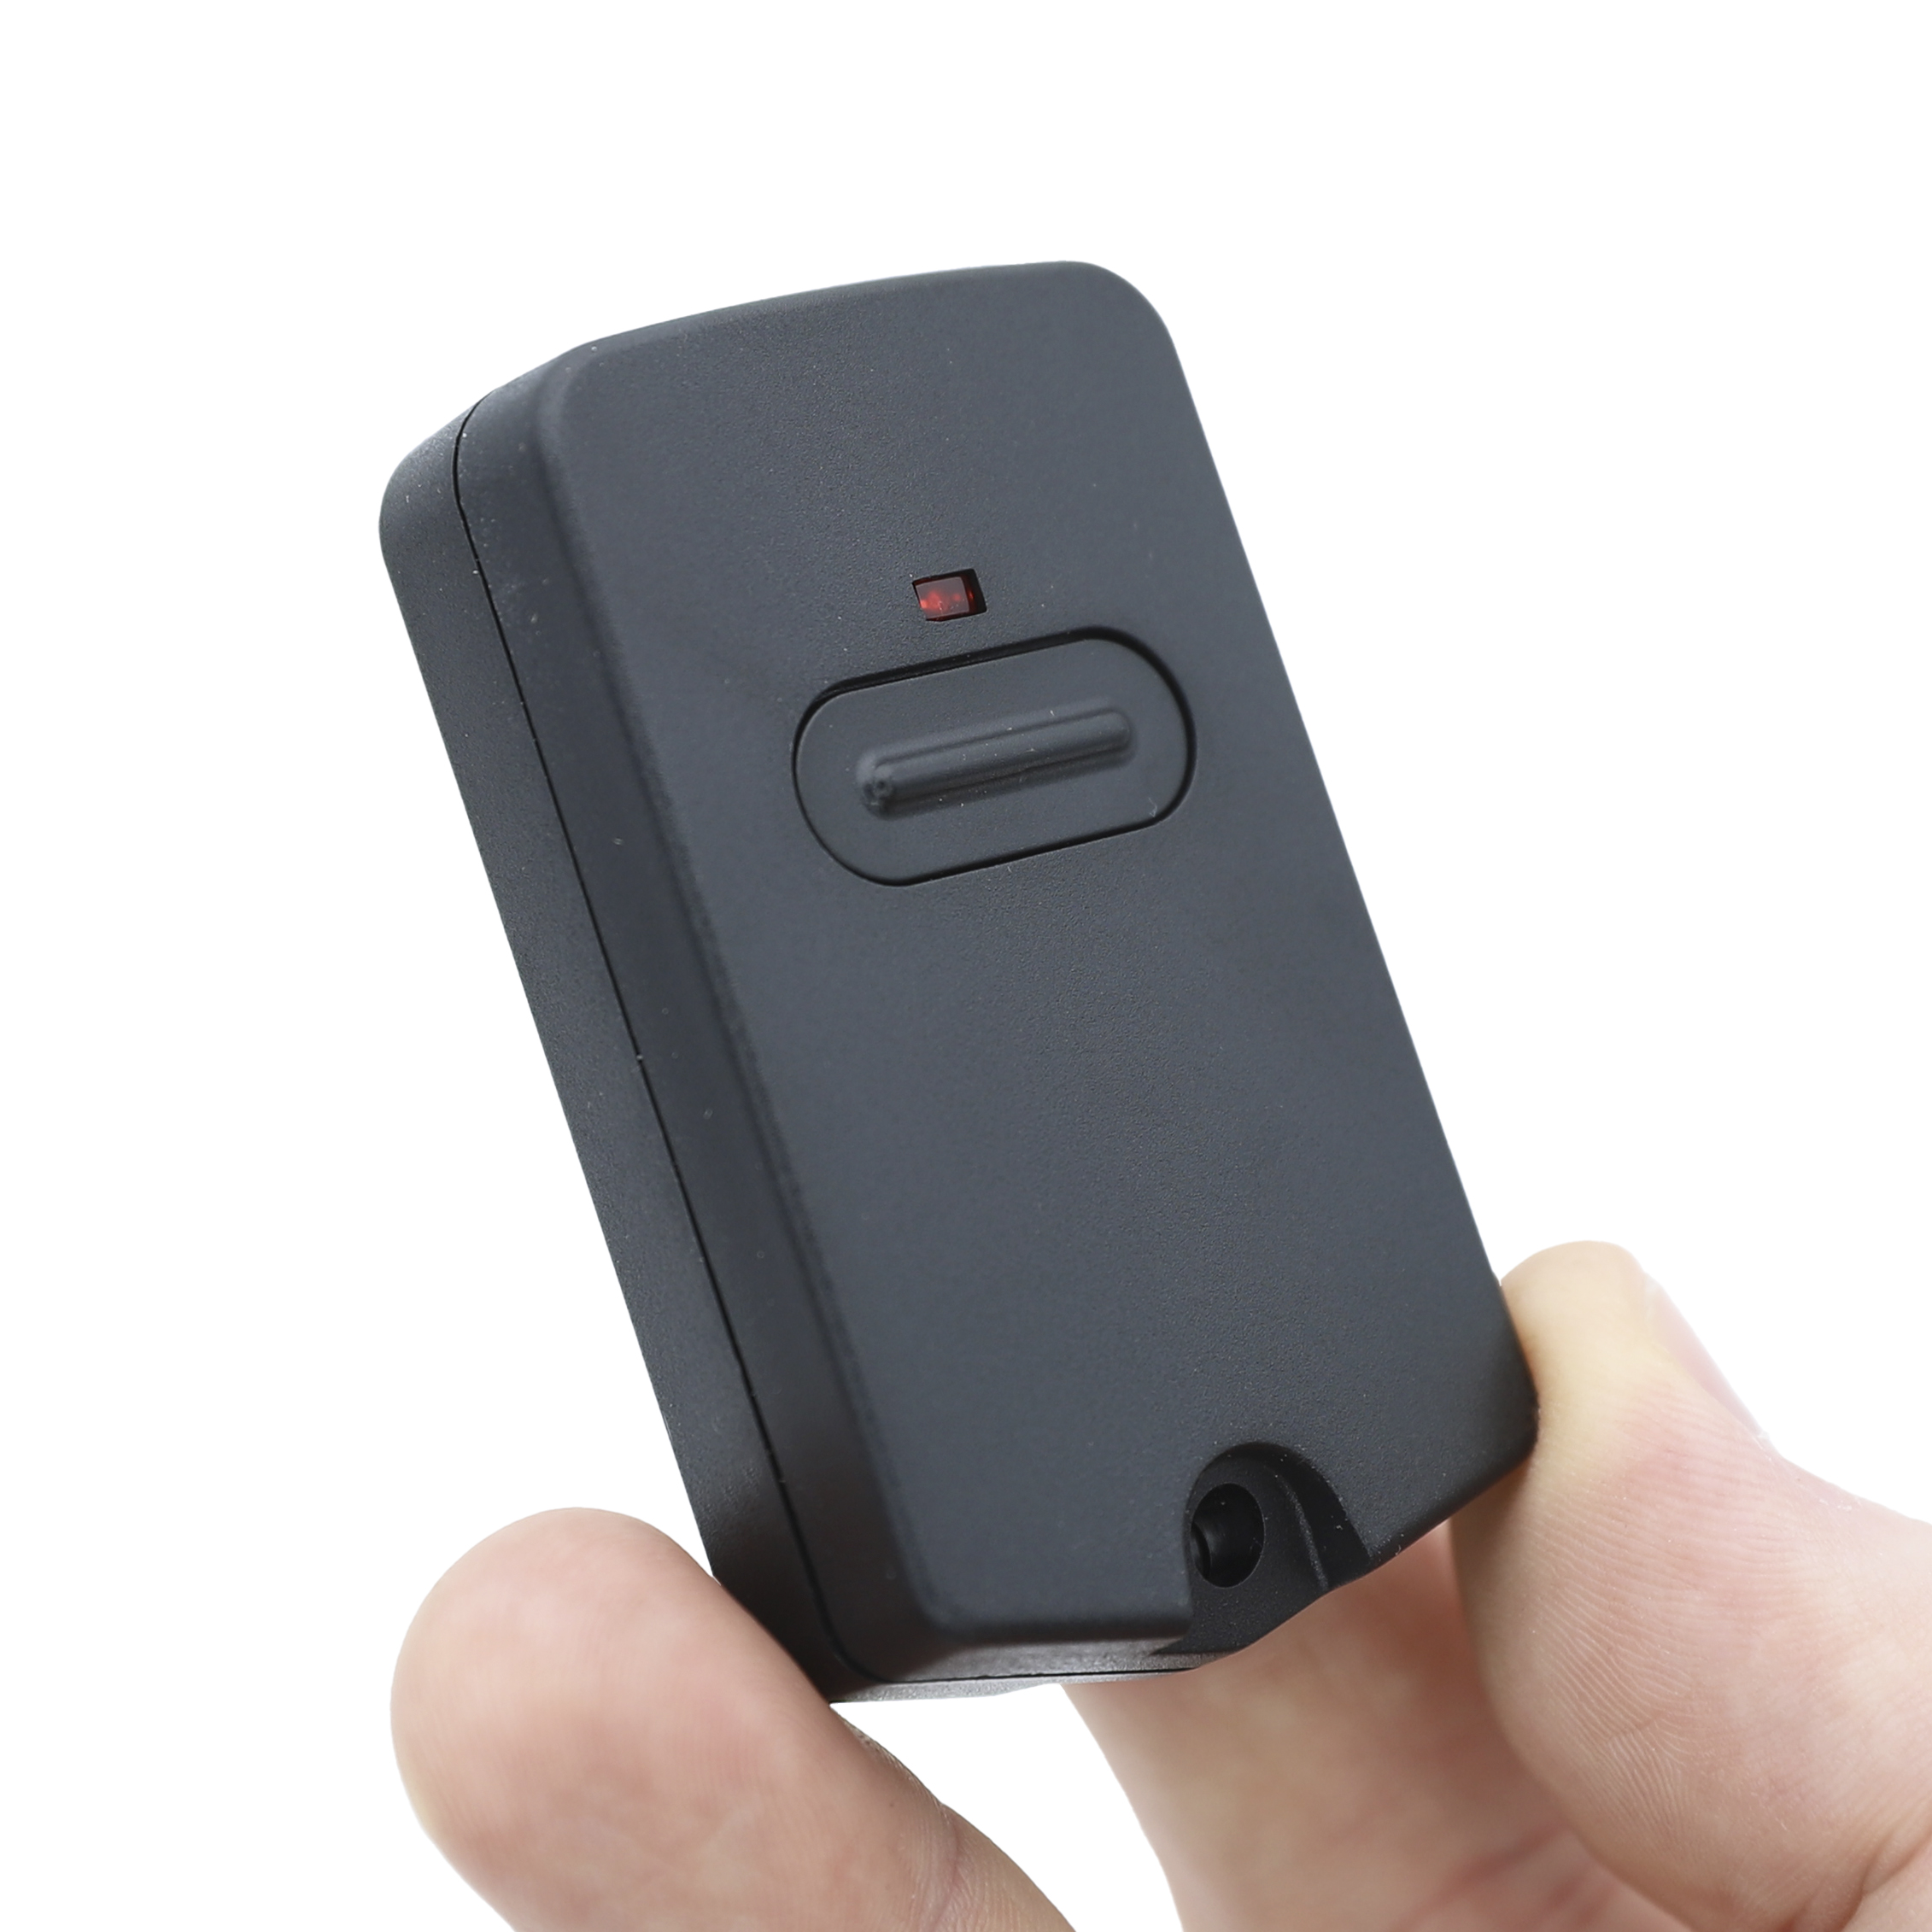
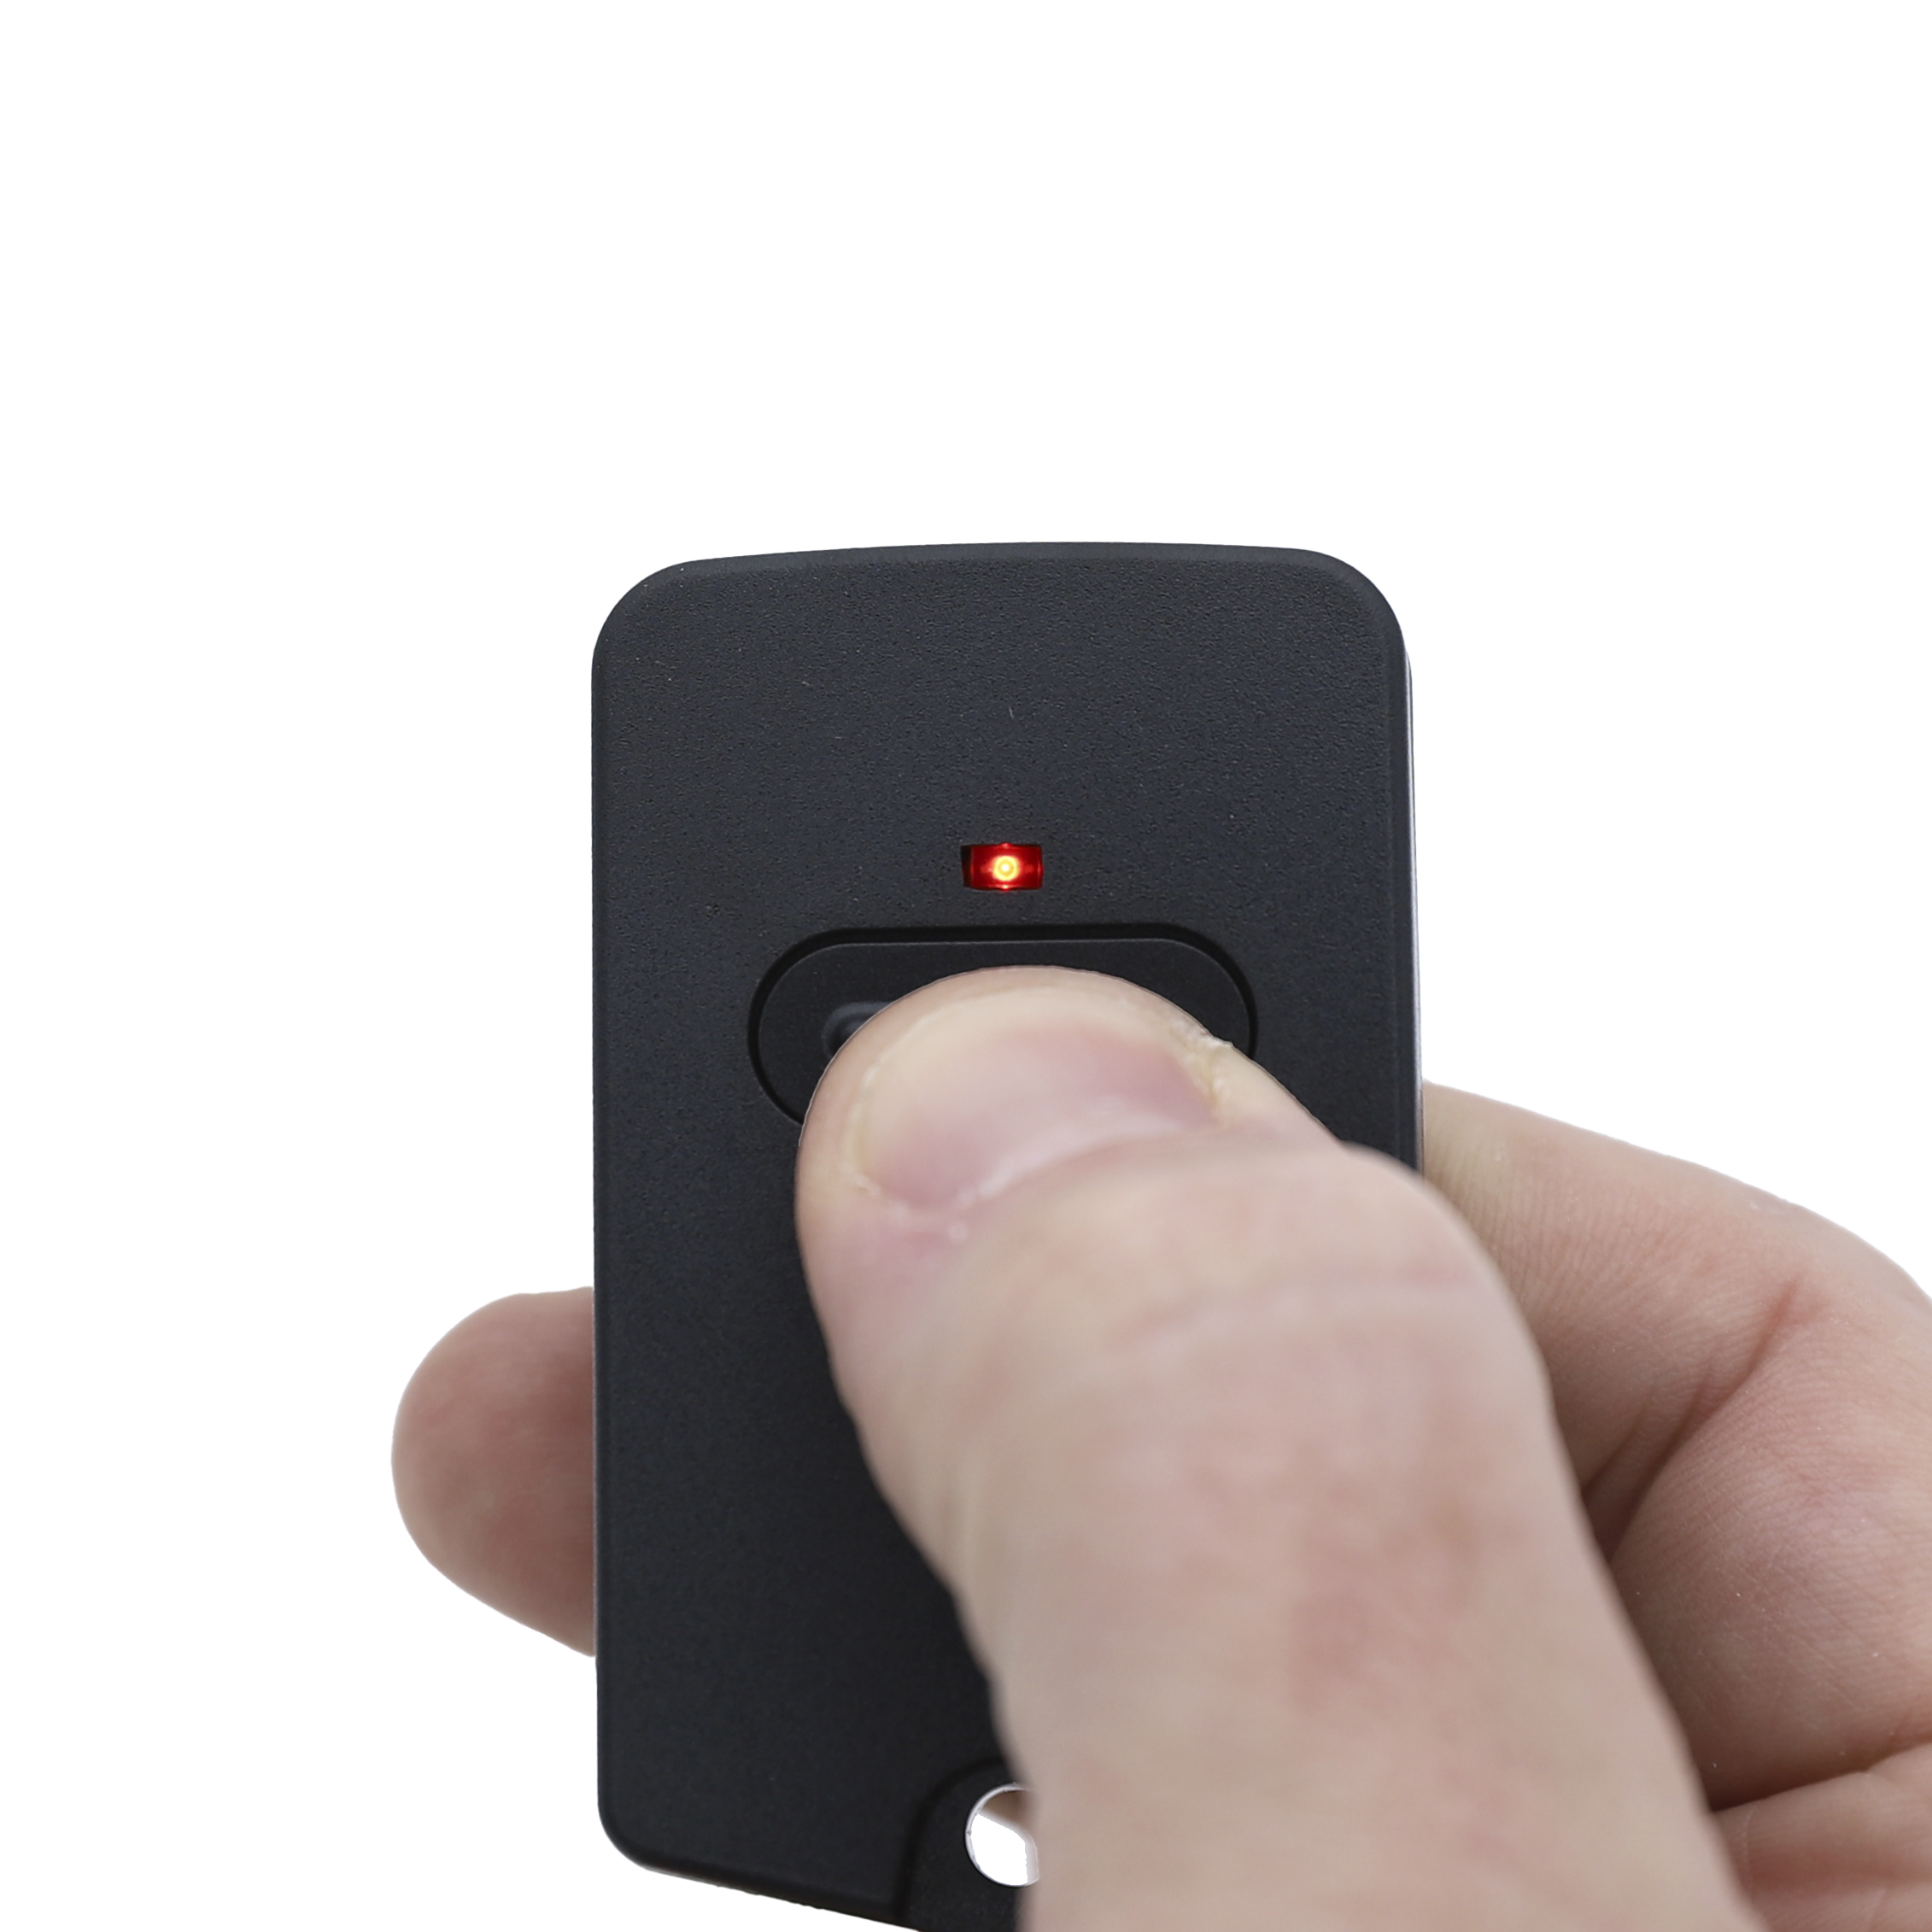



MPC2 Garage Door Remote Specifications
| Remote Dimensions | 5.5 x 3.5 x 1.2 (cm) |
| Remote Weight | 24g |
| Manufacturer | Wholesale Garage |
| Made To Suit | B&D MPC2 |
| Model Number | WGD401, RPD401 |
| Batteries Included | Yes |
| Battery Type | 27A 12V Alkaline Battery |
| Warranty | 1 Year |
MPC2 Garage Door Remote Compatibility
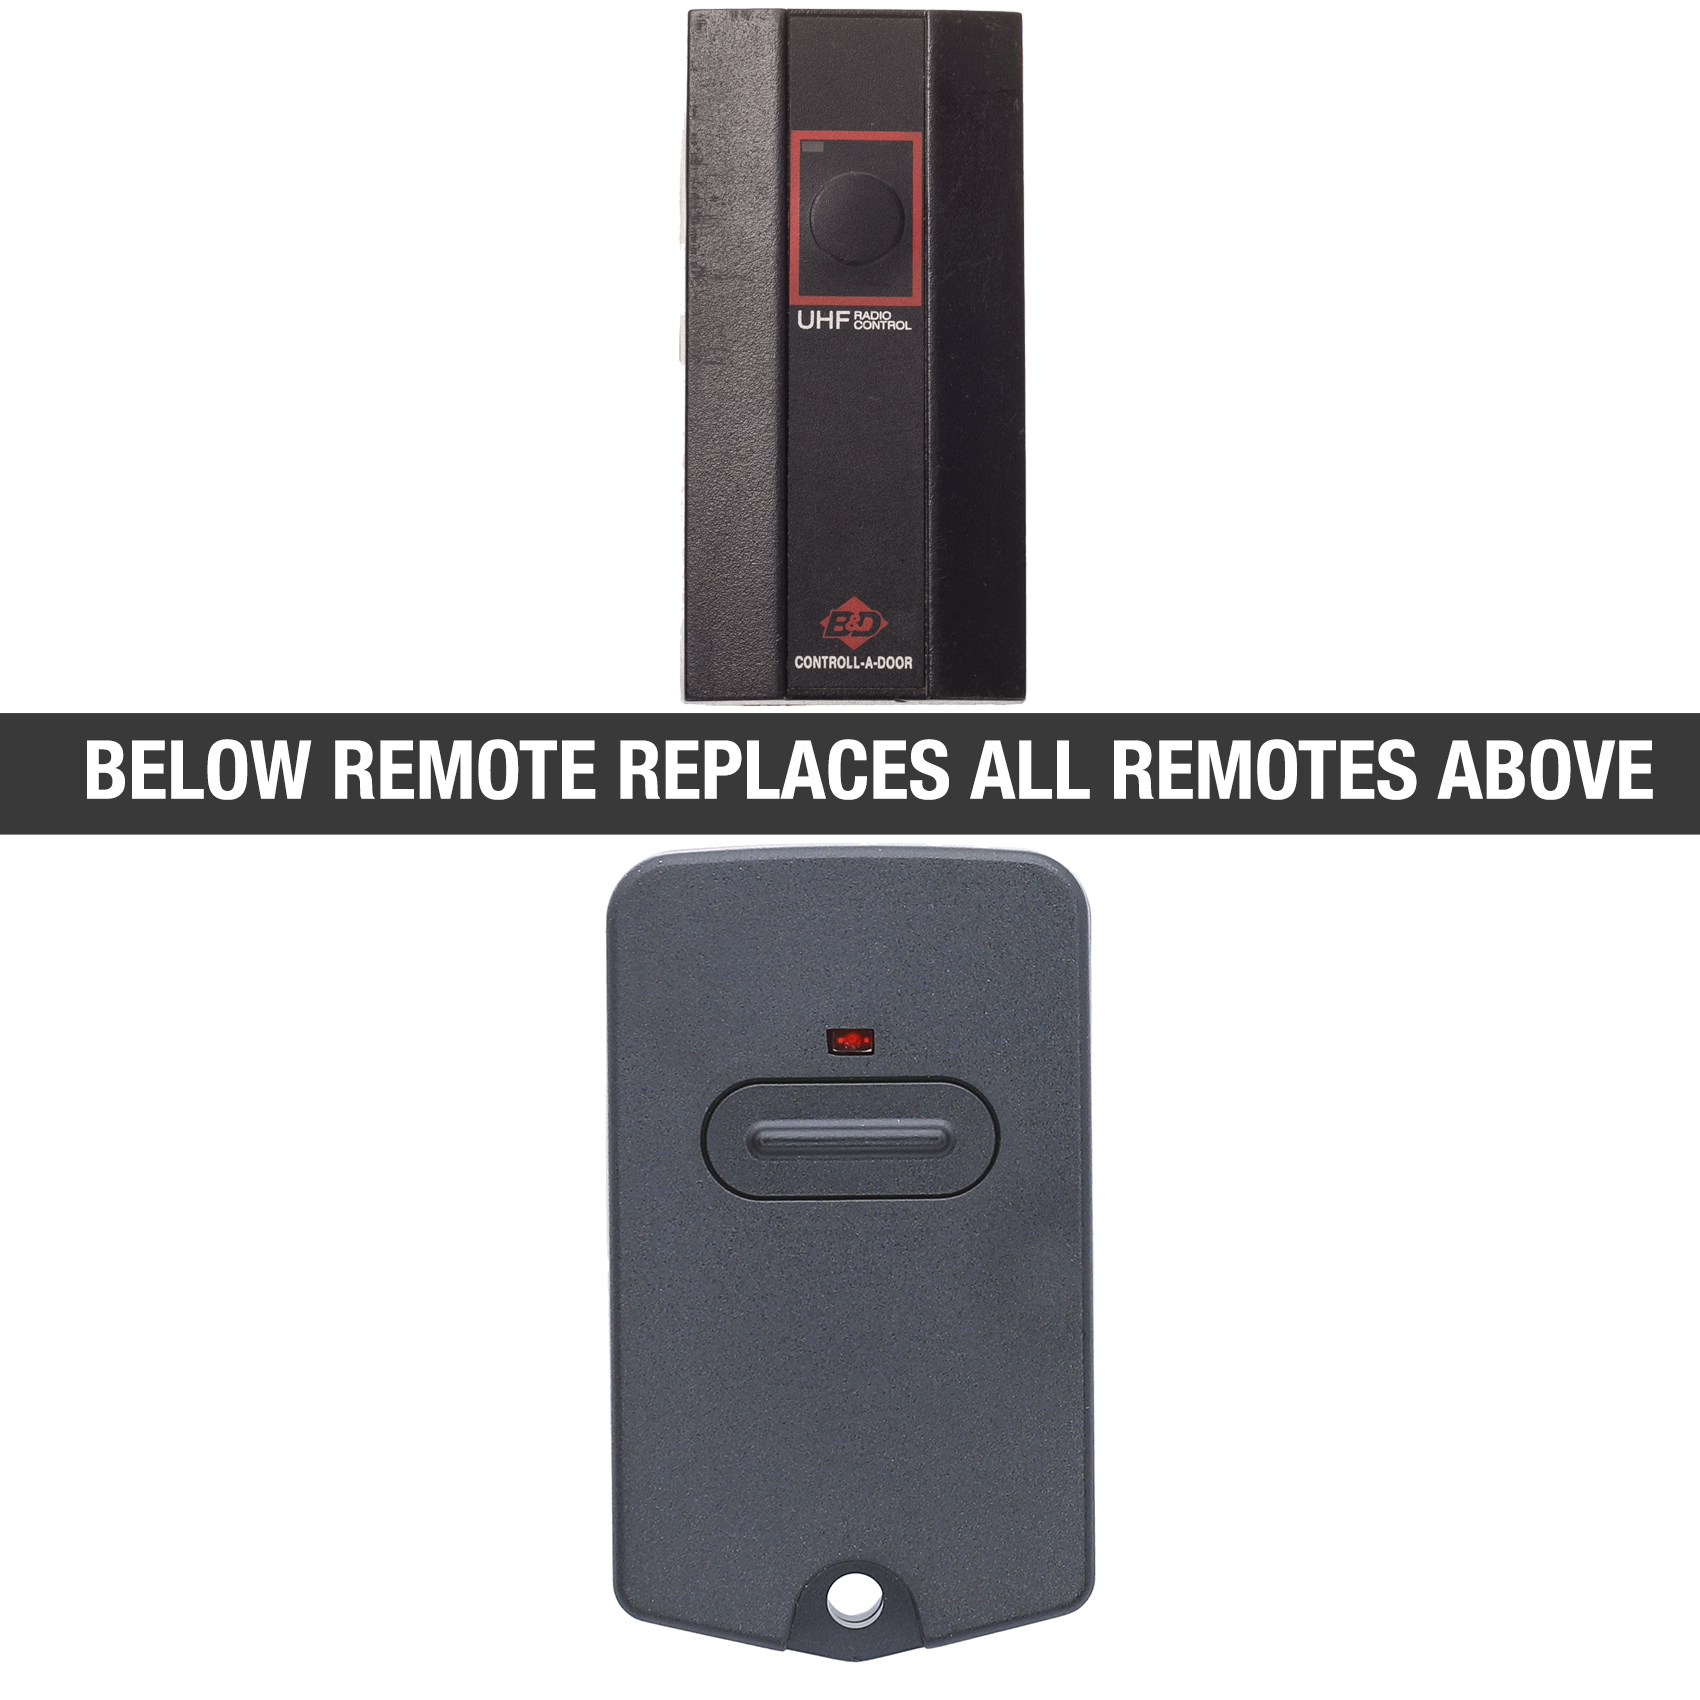
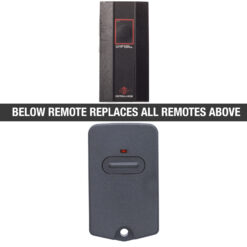
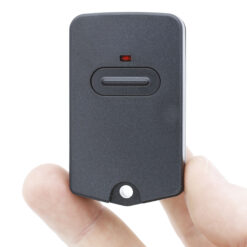
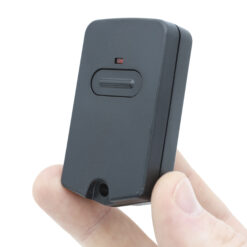
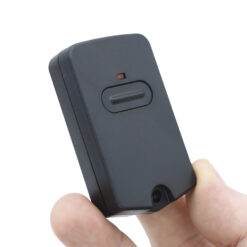
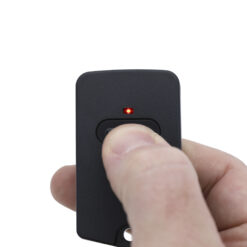
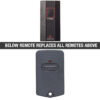
This MPC2 aftermarket remote control will suit the remotes pictured in the main image. Please note, if your remote control is not pictured this may not suit.
Whilst this remote may look similar to other black sliding cover remotes in the industry, this is not a ‘universal’ garage door remote.
This remote control copies the code transmitted from an existing, operating garage door remote. This means you must have a working remote control to program this remote.
- MPC2
If you would like confirmation if this would work, please send a photo of your remote control to our team on our contact us page.
MPC2 Garage Door Remote Features
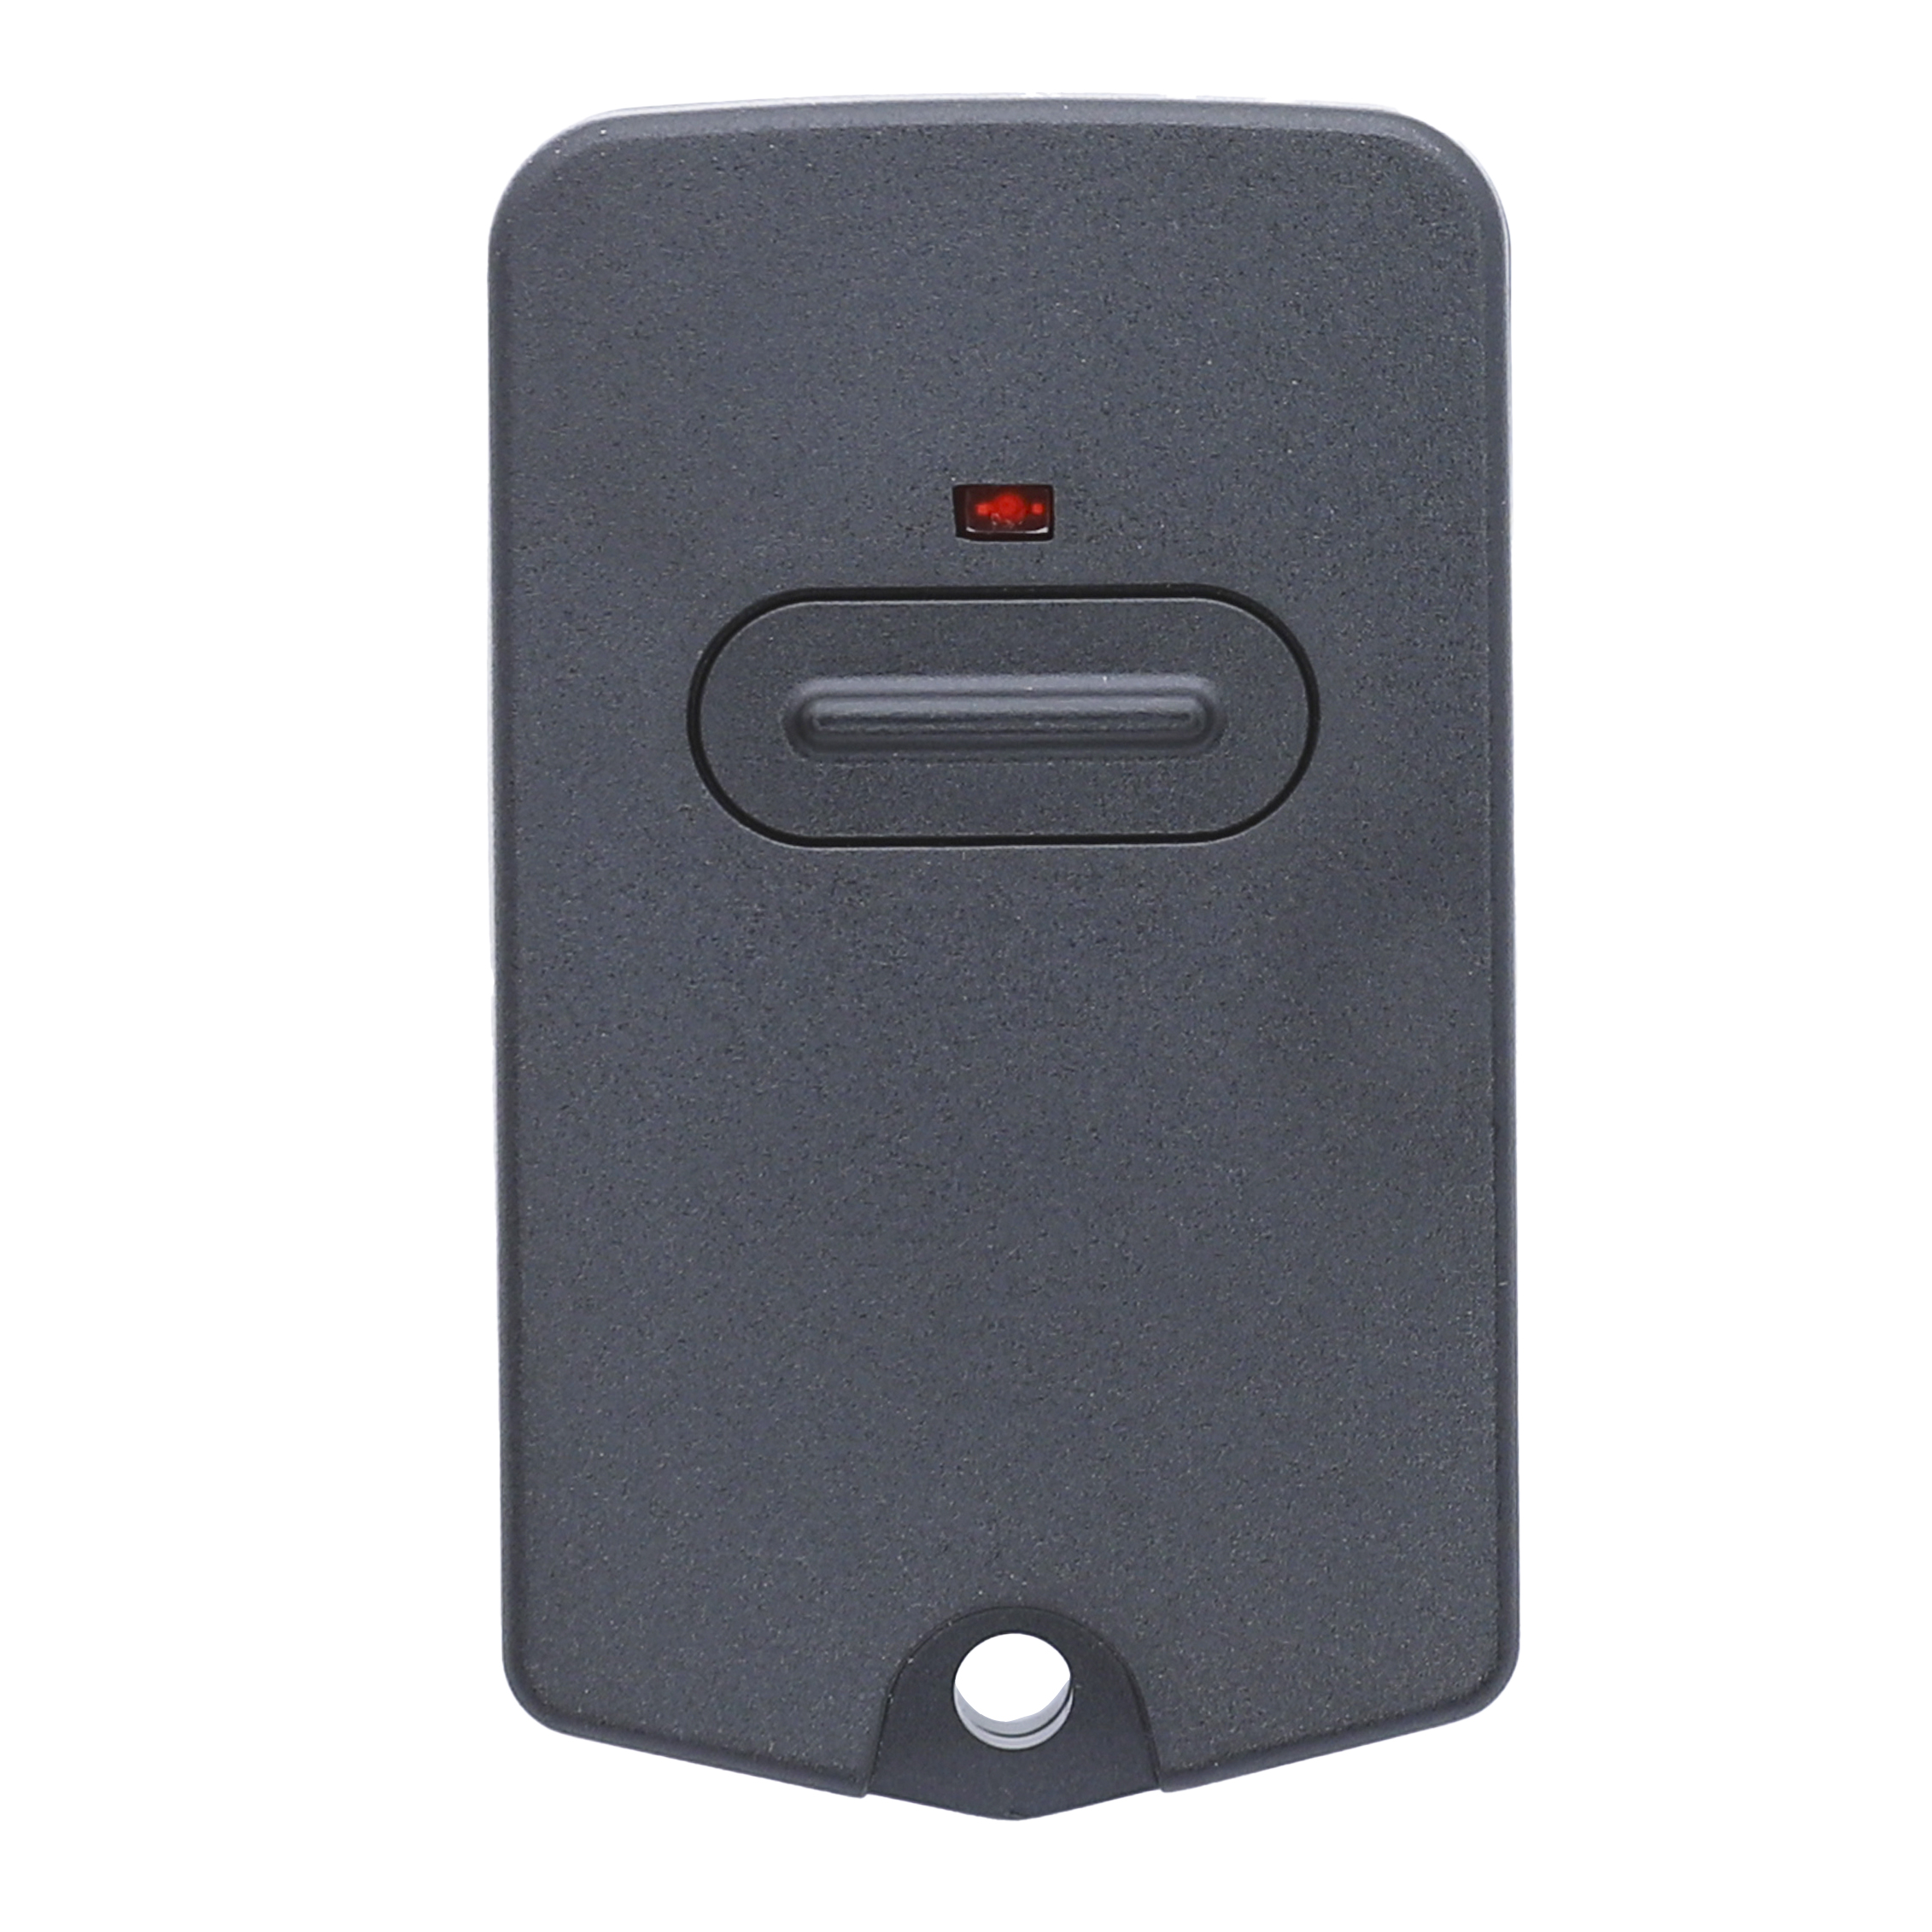
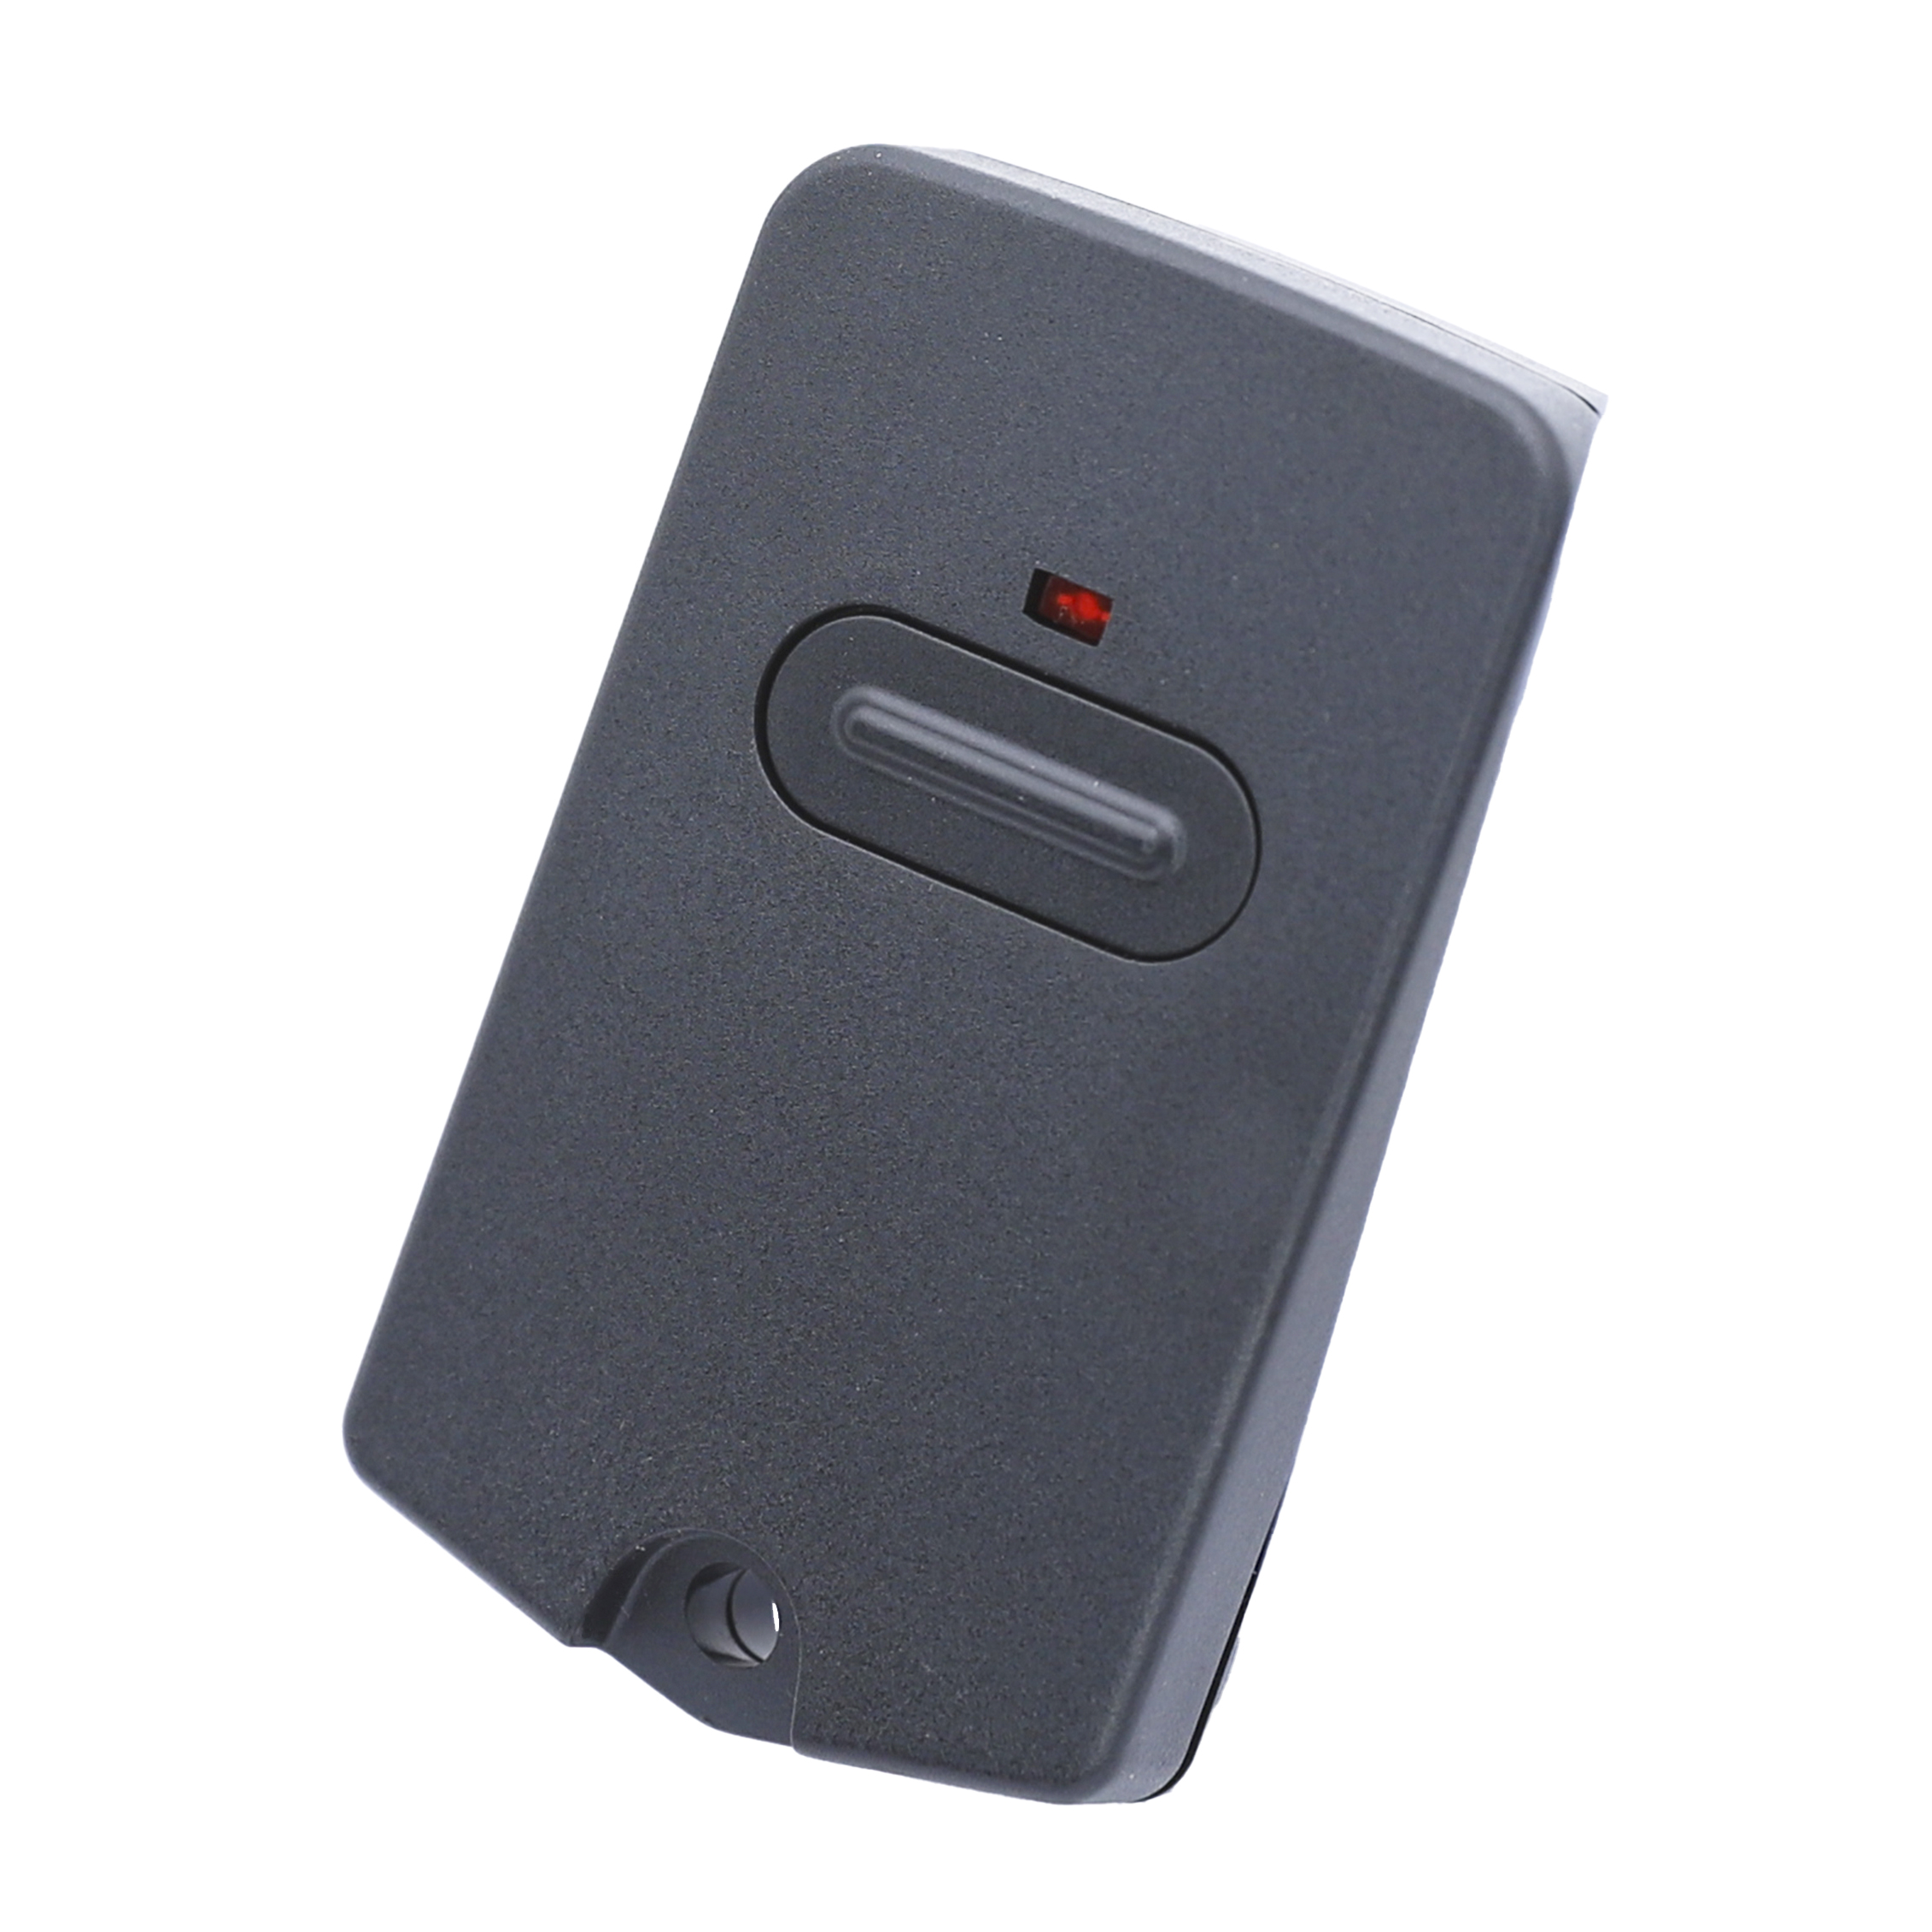
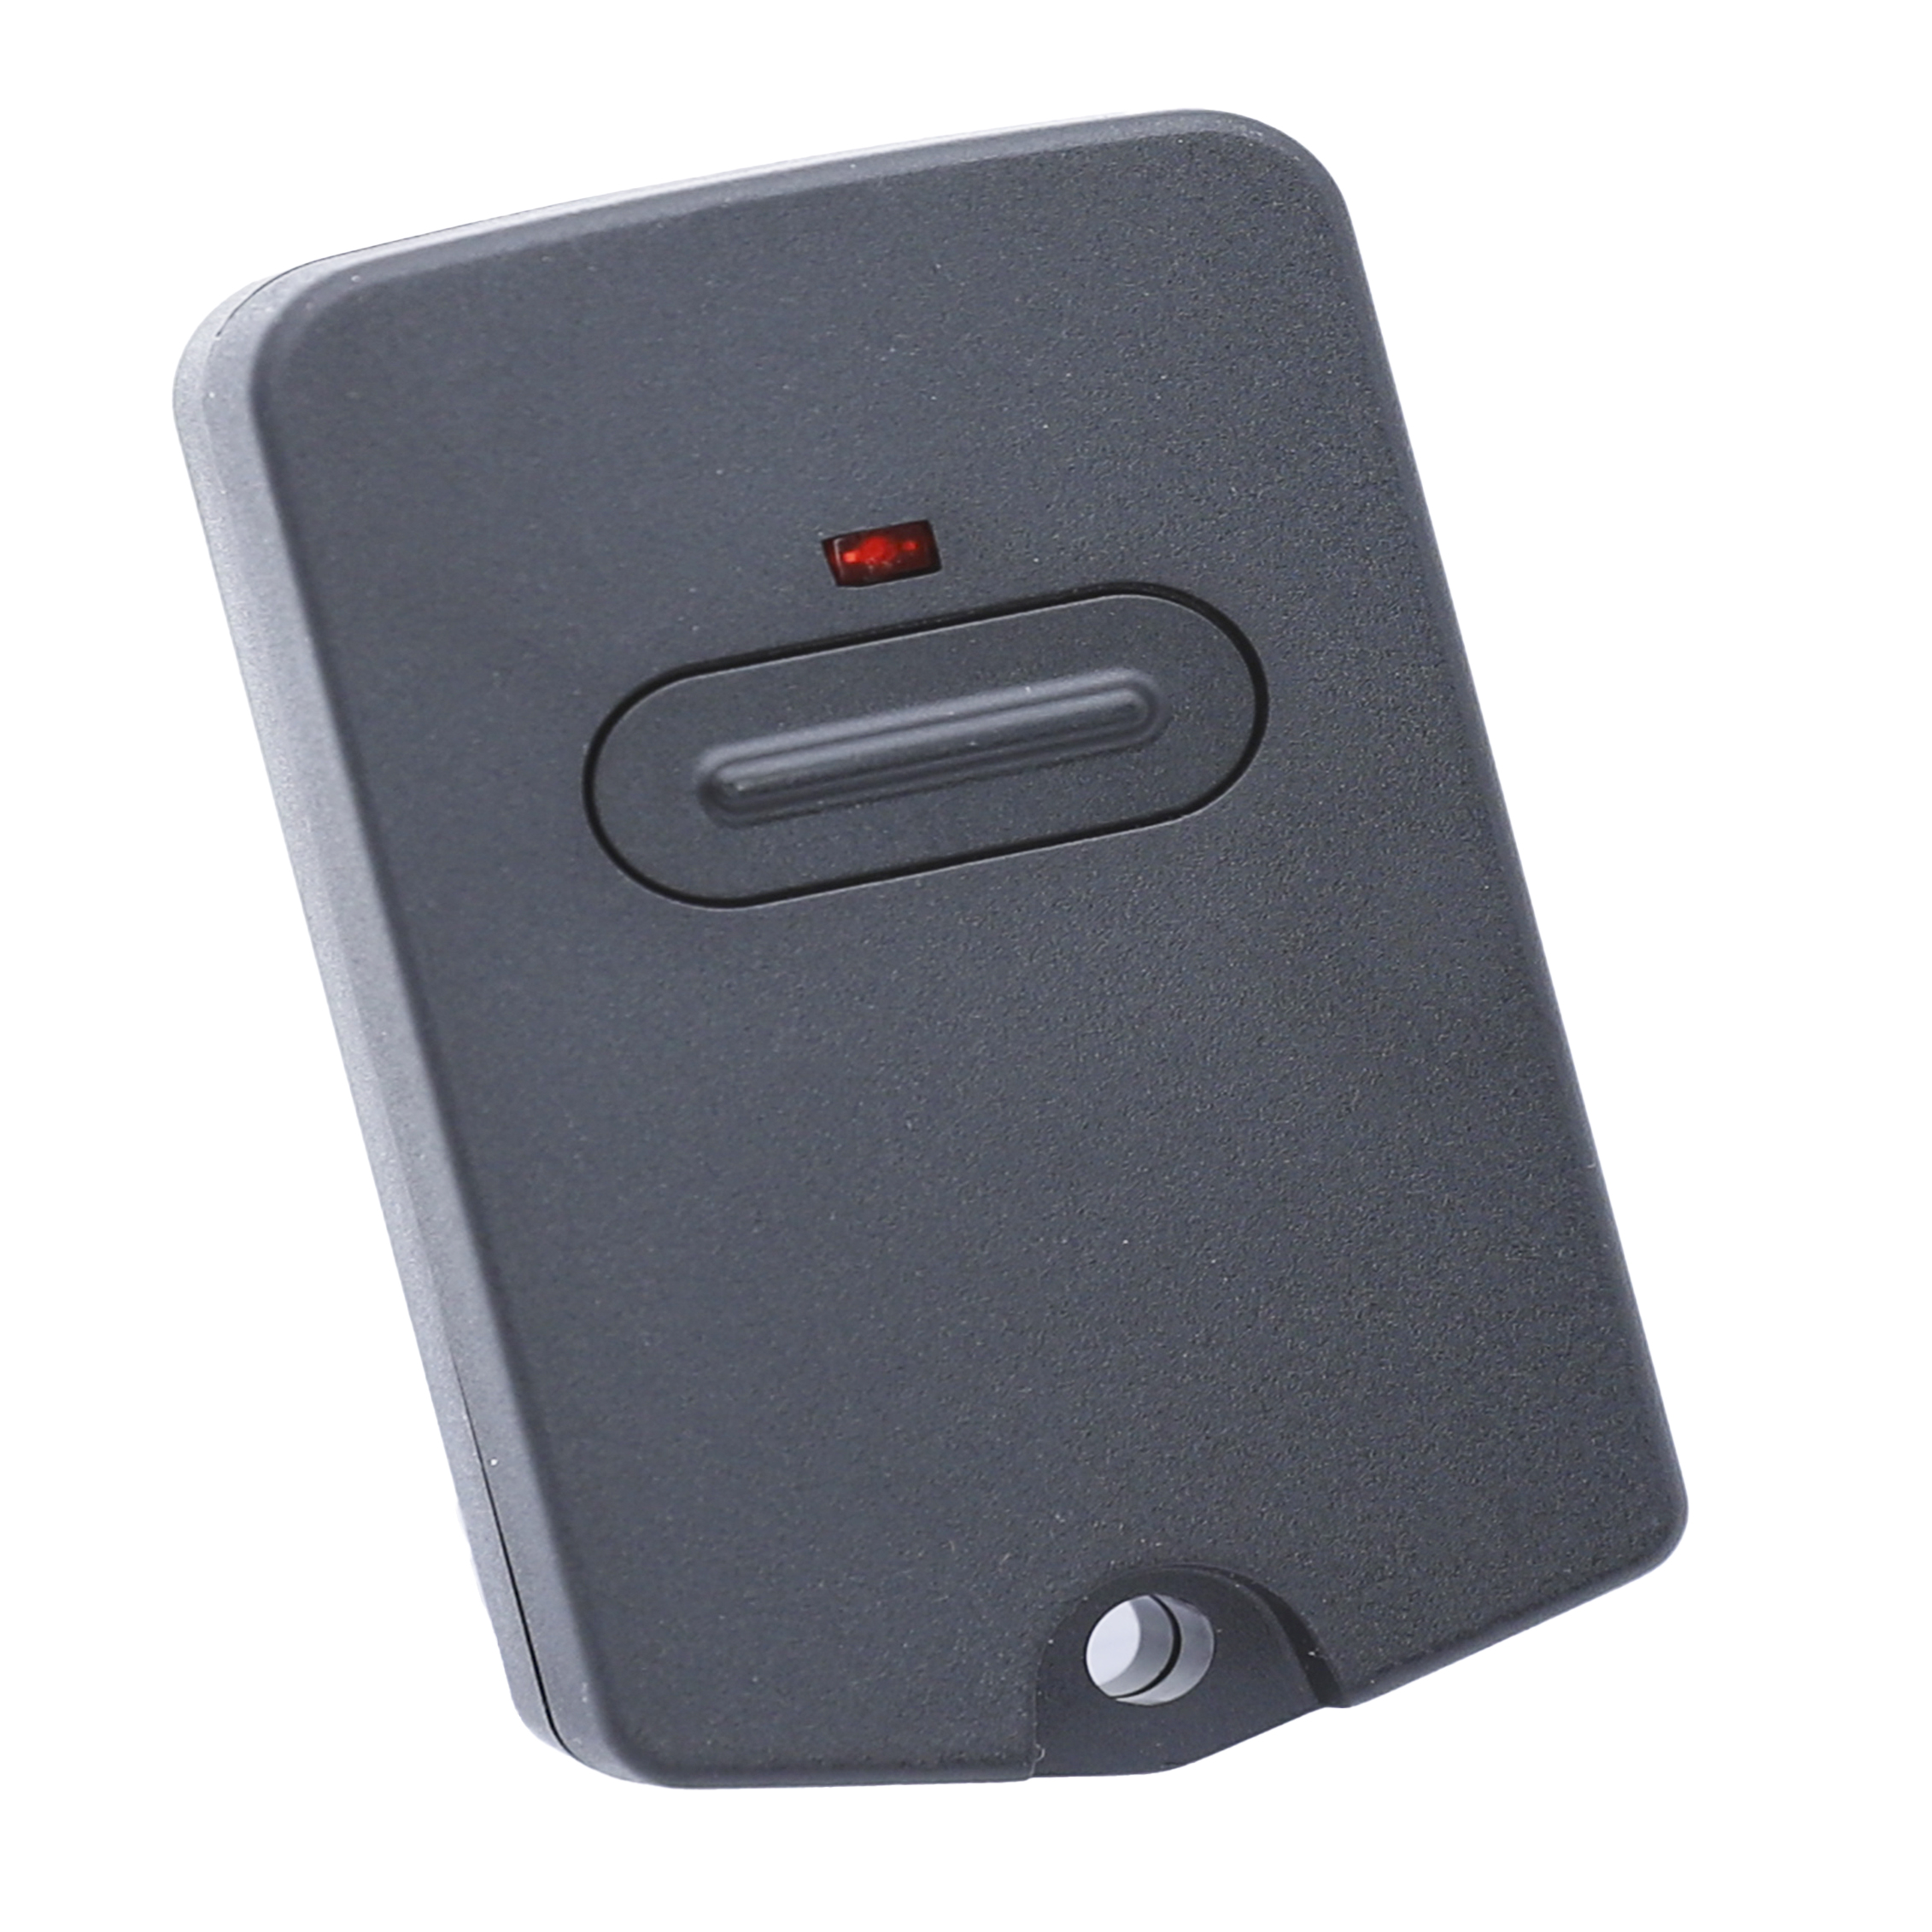
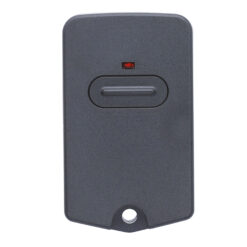
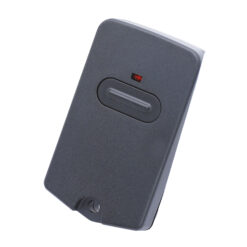
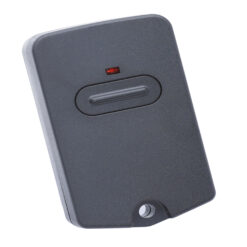
Our black MPC2 aftermarket remote controls are specifically designed to suit MPC2 garage door and gate openers. With a black casing, these remotes are not only aesthetically appealing but are also built to last. Its compact design makes it handy and easy to carry, so you don’t have to worry about bulky or cumbersome remotes. Moreover, this four-button, 4-channel remote is highly versatile, allowing you to effortlessly control multiple garage doors or gate systems with a single device.
This means you can now easily replace your old or lost remotes without breaking the bank. The four-button configuration empowers users to perform various functions or control multiple devices with ease. Additionally, the setup and programming process is extremely user-friendly, making it perfect for both tech-savvy individuals and those who might not be as comfortable with technology. Enhance your garage door experience with this sleek, robust, and multi-functional aftermarket remote control.
MPC2 Programming Instructions
PROCEDURE IF YOU HAVE AN EXISTING REMOTE
1. Open the new remote by removing the two screws at the rear.
2. Open your existing remote battery cover to expose the dip switches. If you do not have an existing remote, you must find the dip switches located on the motor which are generally under the side panel.
3. Copy the switch sequence from your old remote to the new one.
4. Close both remotes and test
PROCEDURE IF YOU DO NOT HAVE AN EXISTING REMOTE
1. Open the new remote by removing the two screws at the rear.
2. Set the switches to a random sequence.
3. Press and immediately release the Code Set button on your wall control panel once. A light will illuminate.
4. Press the button on the new remote. The Code Set light will go out
5. Press the button on the new remote to ensure you have programmed it in correctly.


Reviews
There are no reviews yet.