


Remote Pro RPC412 Garage Door Remote Specifications
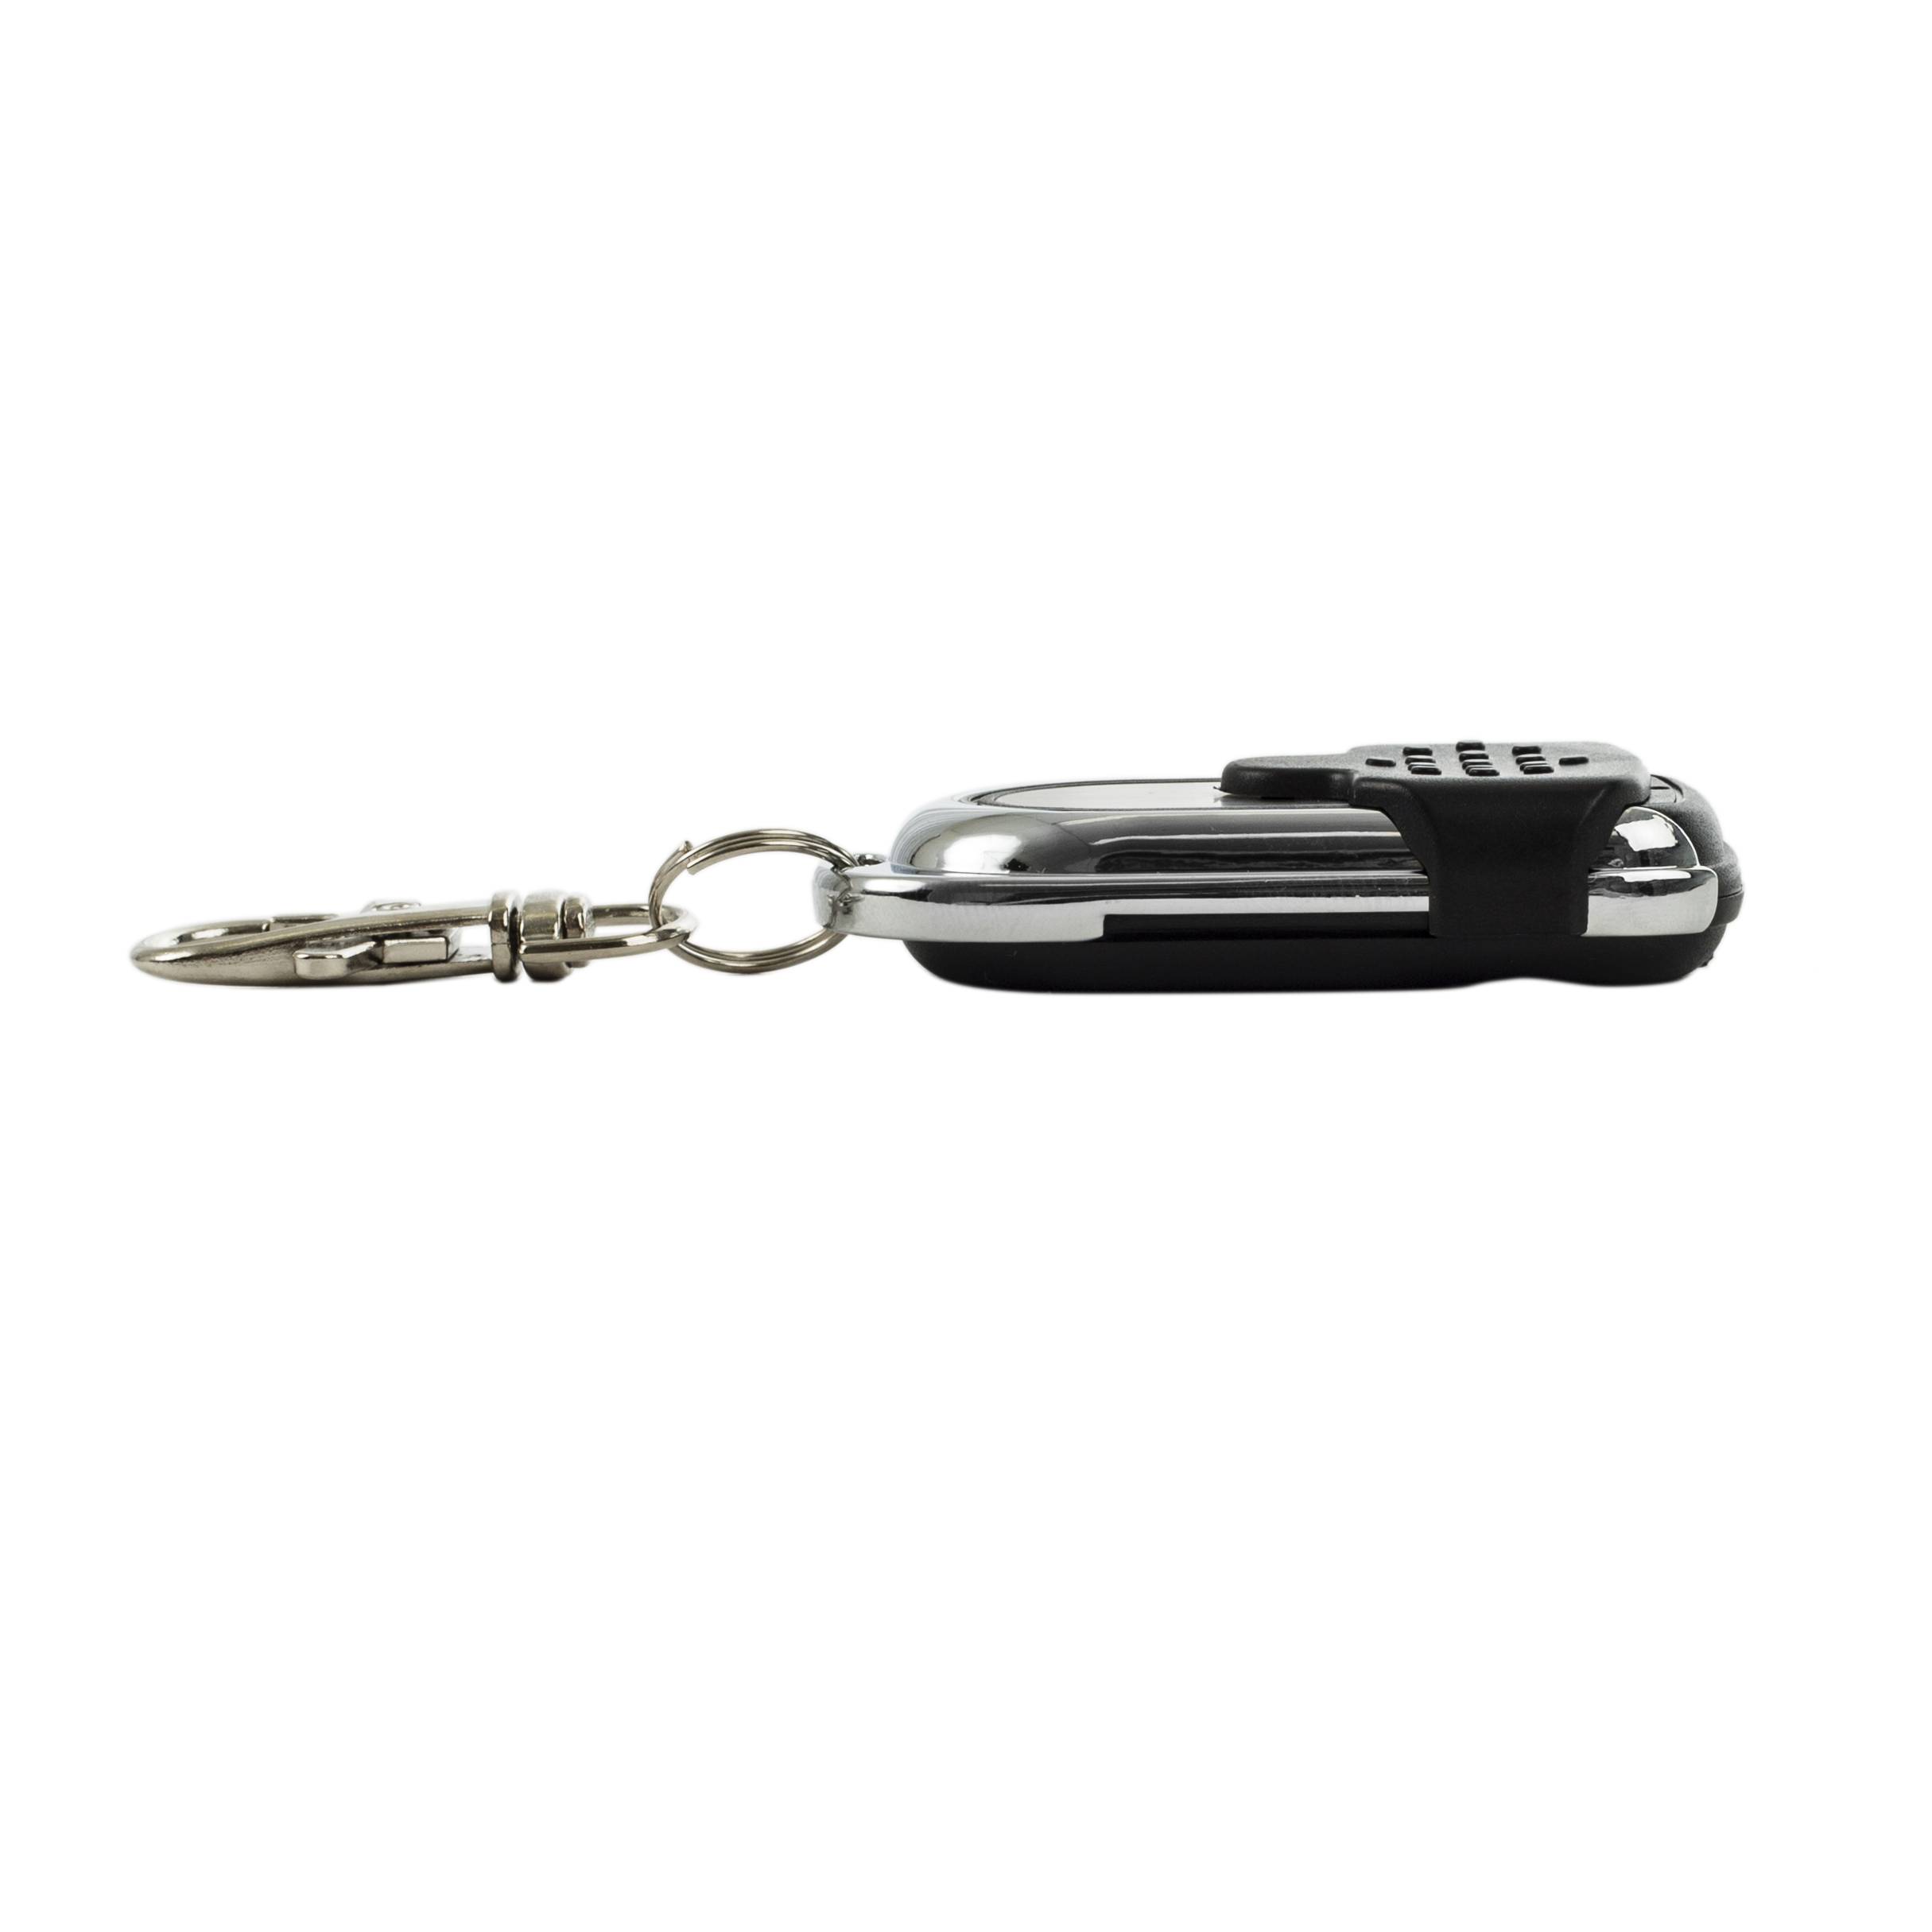
| Remote Dimensions | 5.9 x 3.3 x 1.4 (cm) |
| Remote Weight | 24g |
| Manufacturer | Wholesale Garage |
| Made To Suit | ECA TX4, REA04B |
| Model Number | WGC412, RPC412 |
| Batteries Included | Yes |
| Battery Type | 27A 12V Alkaline Battery |
| Warranty | 1 Year |
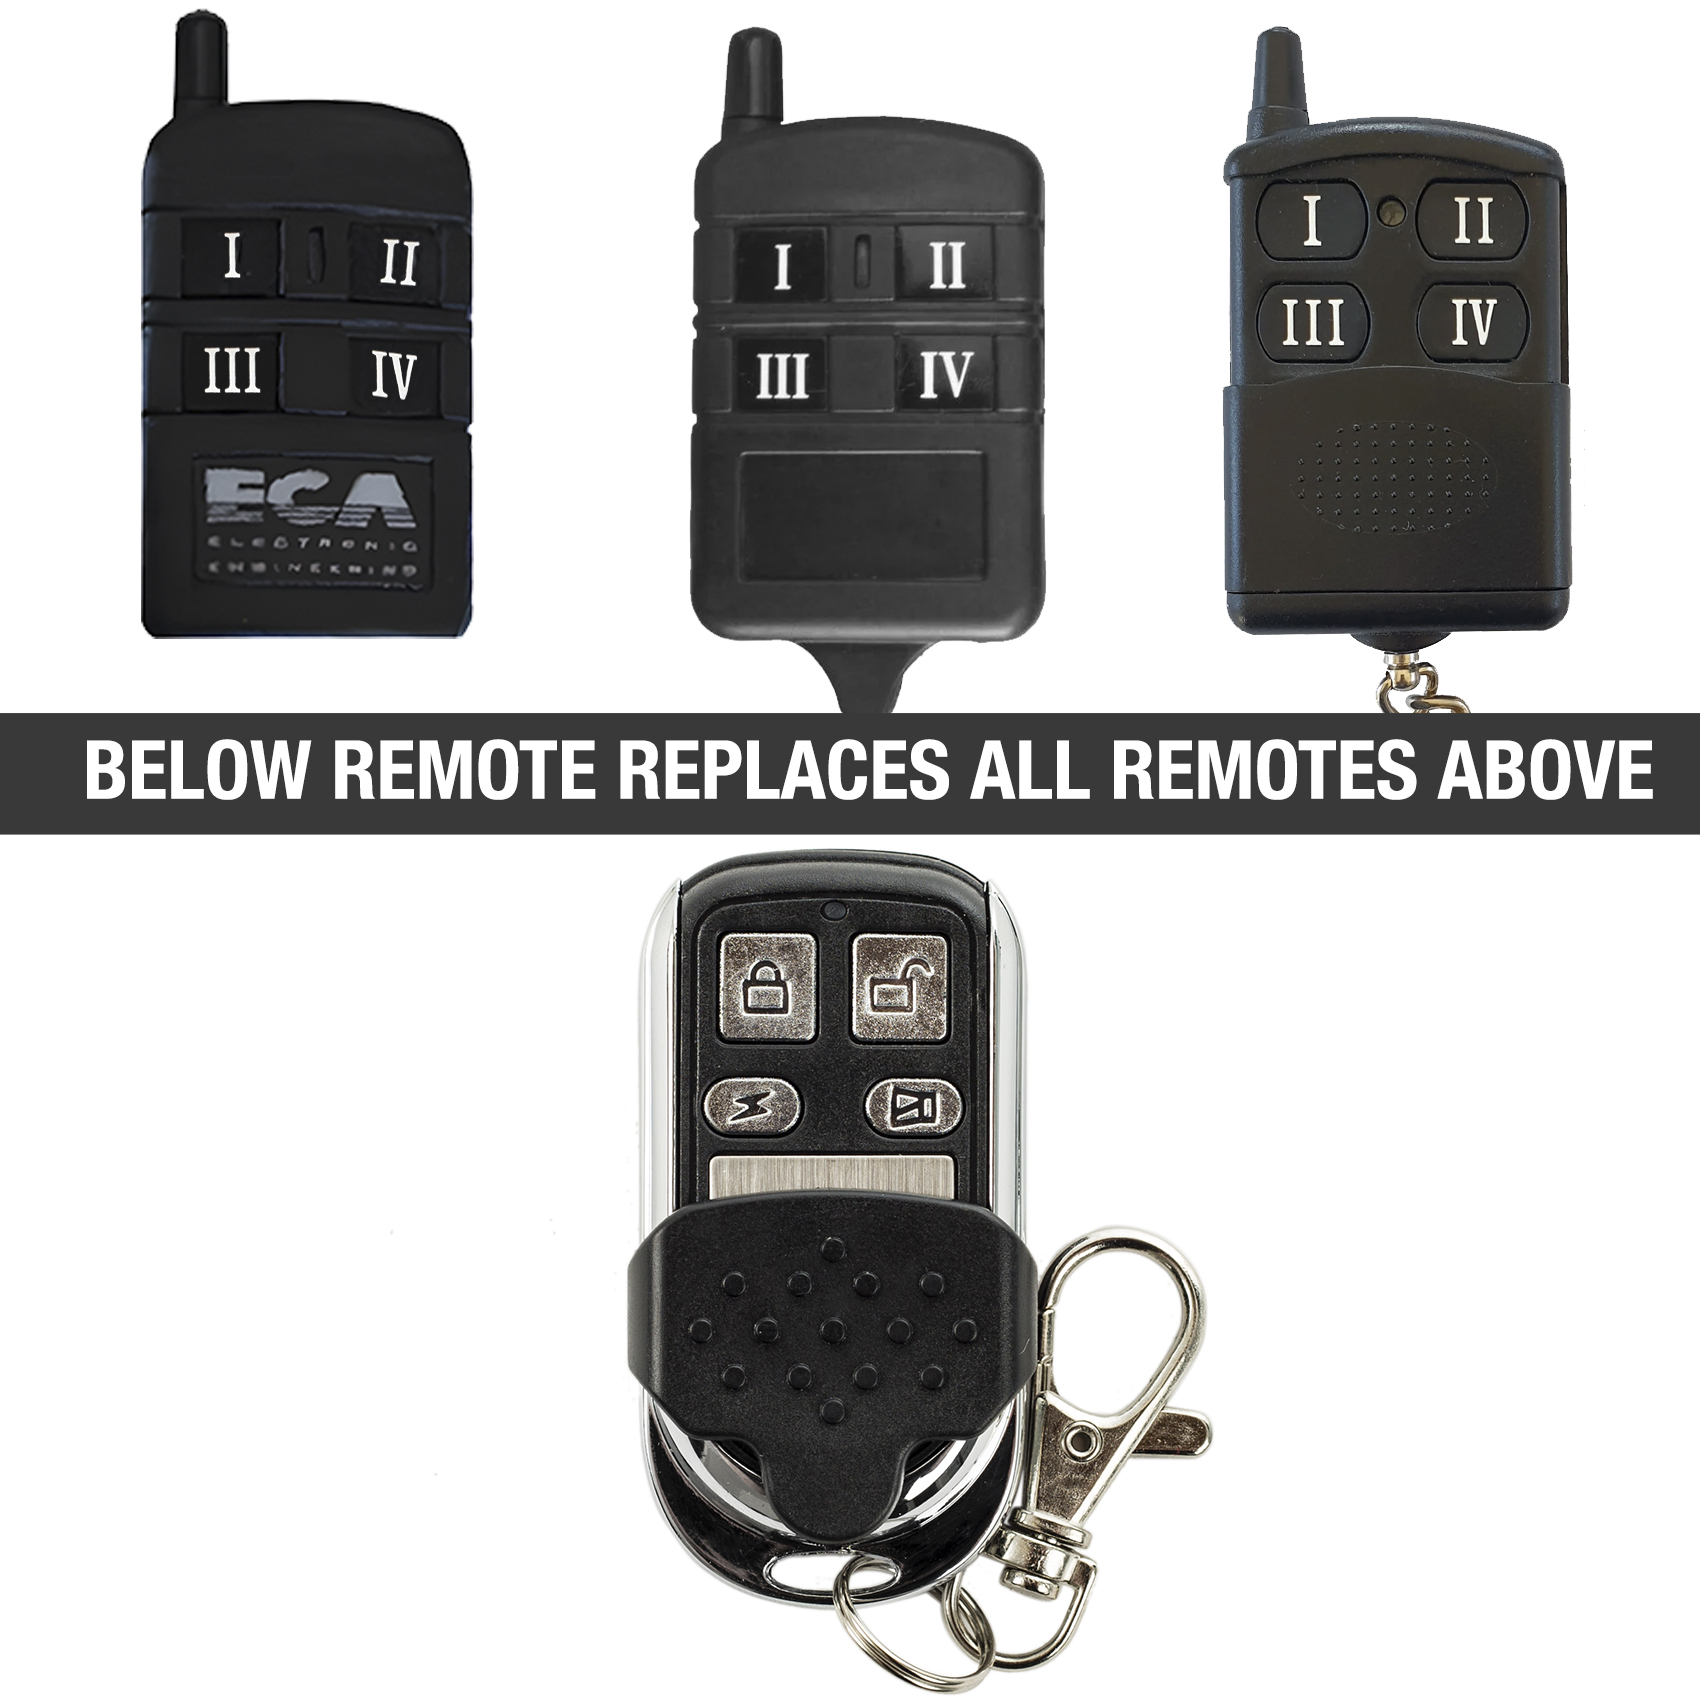
Remote Pro RPC412 Aftermarket Garage Door Remote Compatibility
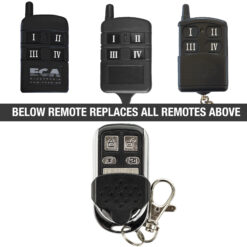
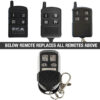
This RPC412 garage door remote replacement is compatible with RemotePro RPC412 systems. If your current remote has RPC412 written on the front, this remote will program and operate exactly the same.
Whilst this remote may look similar to other black sliding cover remotes in the industry, this is not a ‘universal’ garage door remote.
See the full range of Remote Pro Aftermarket Garage Door and Gate Remotes here
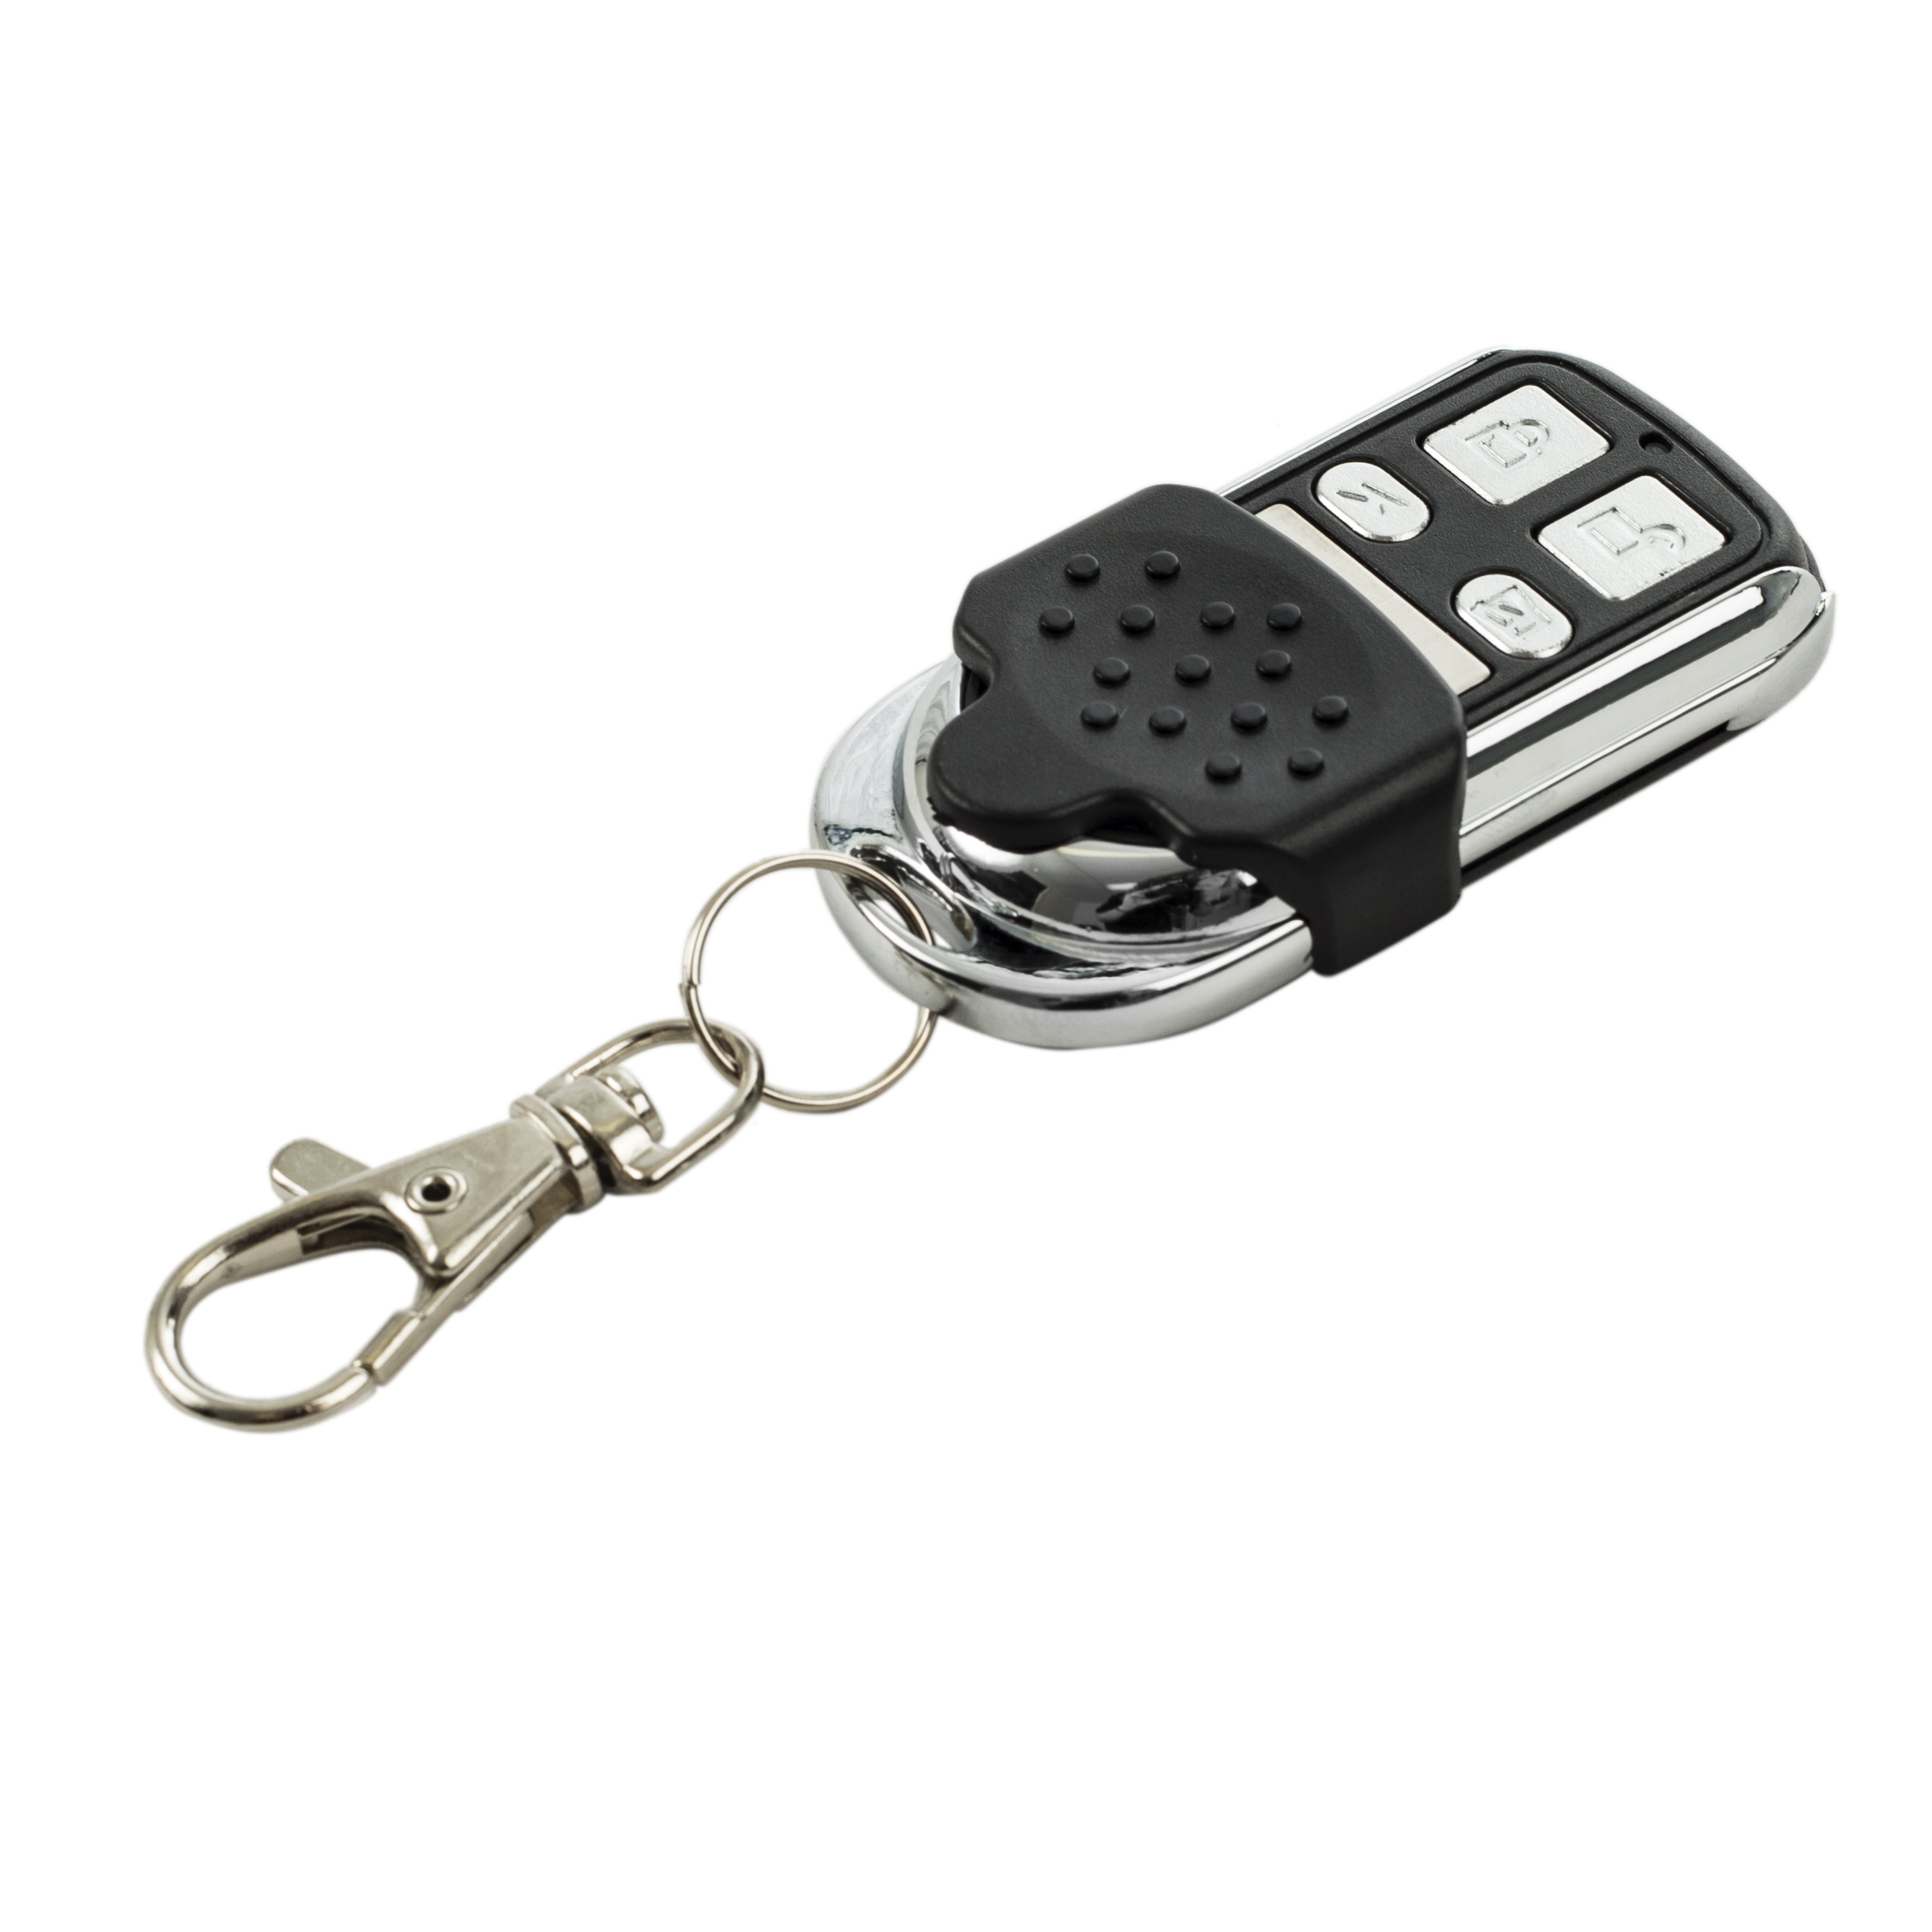
RemotePro RPC412 Aftermarket Garage Door Remote Features
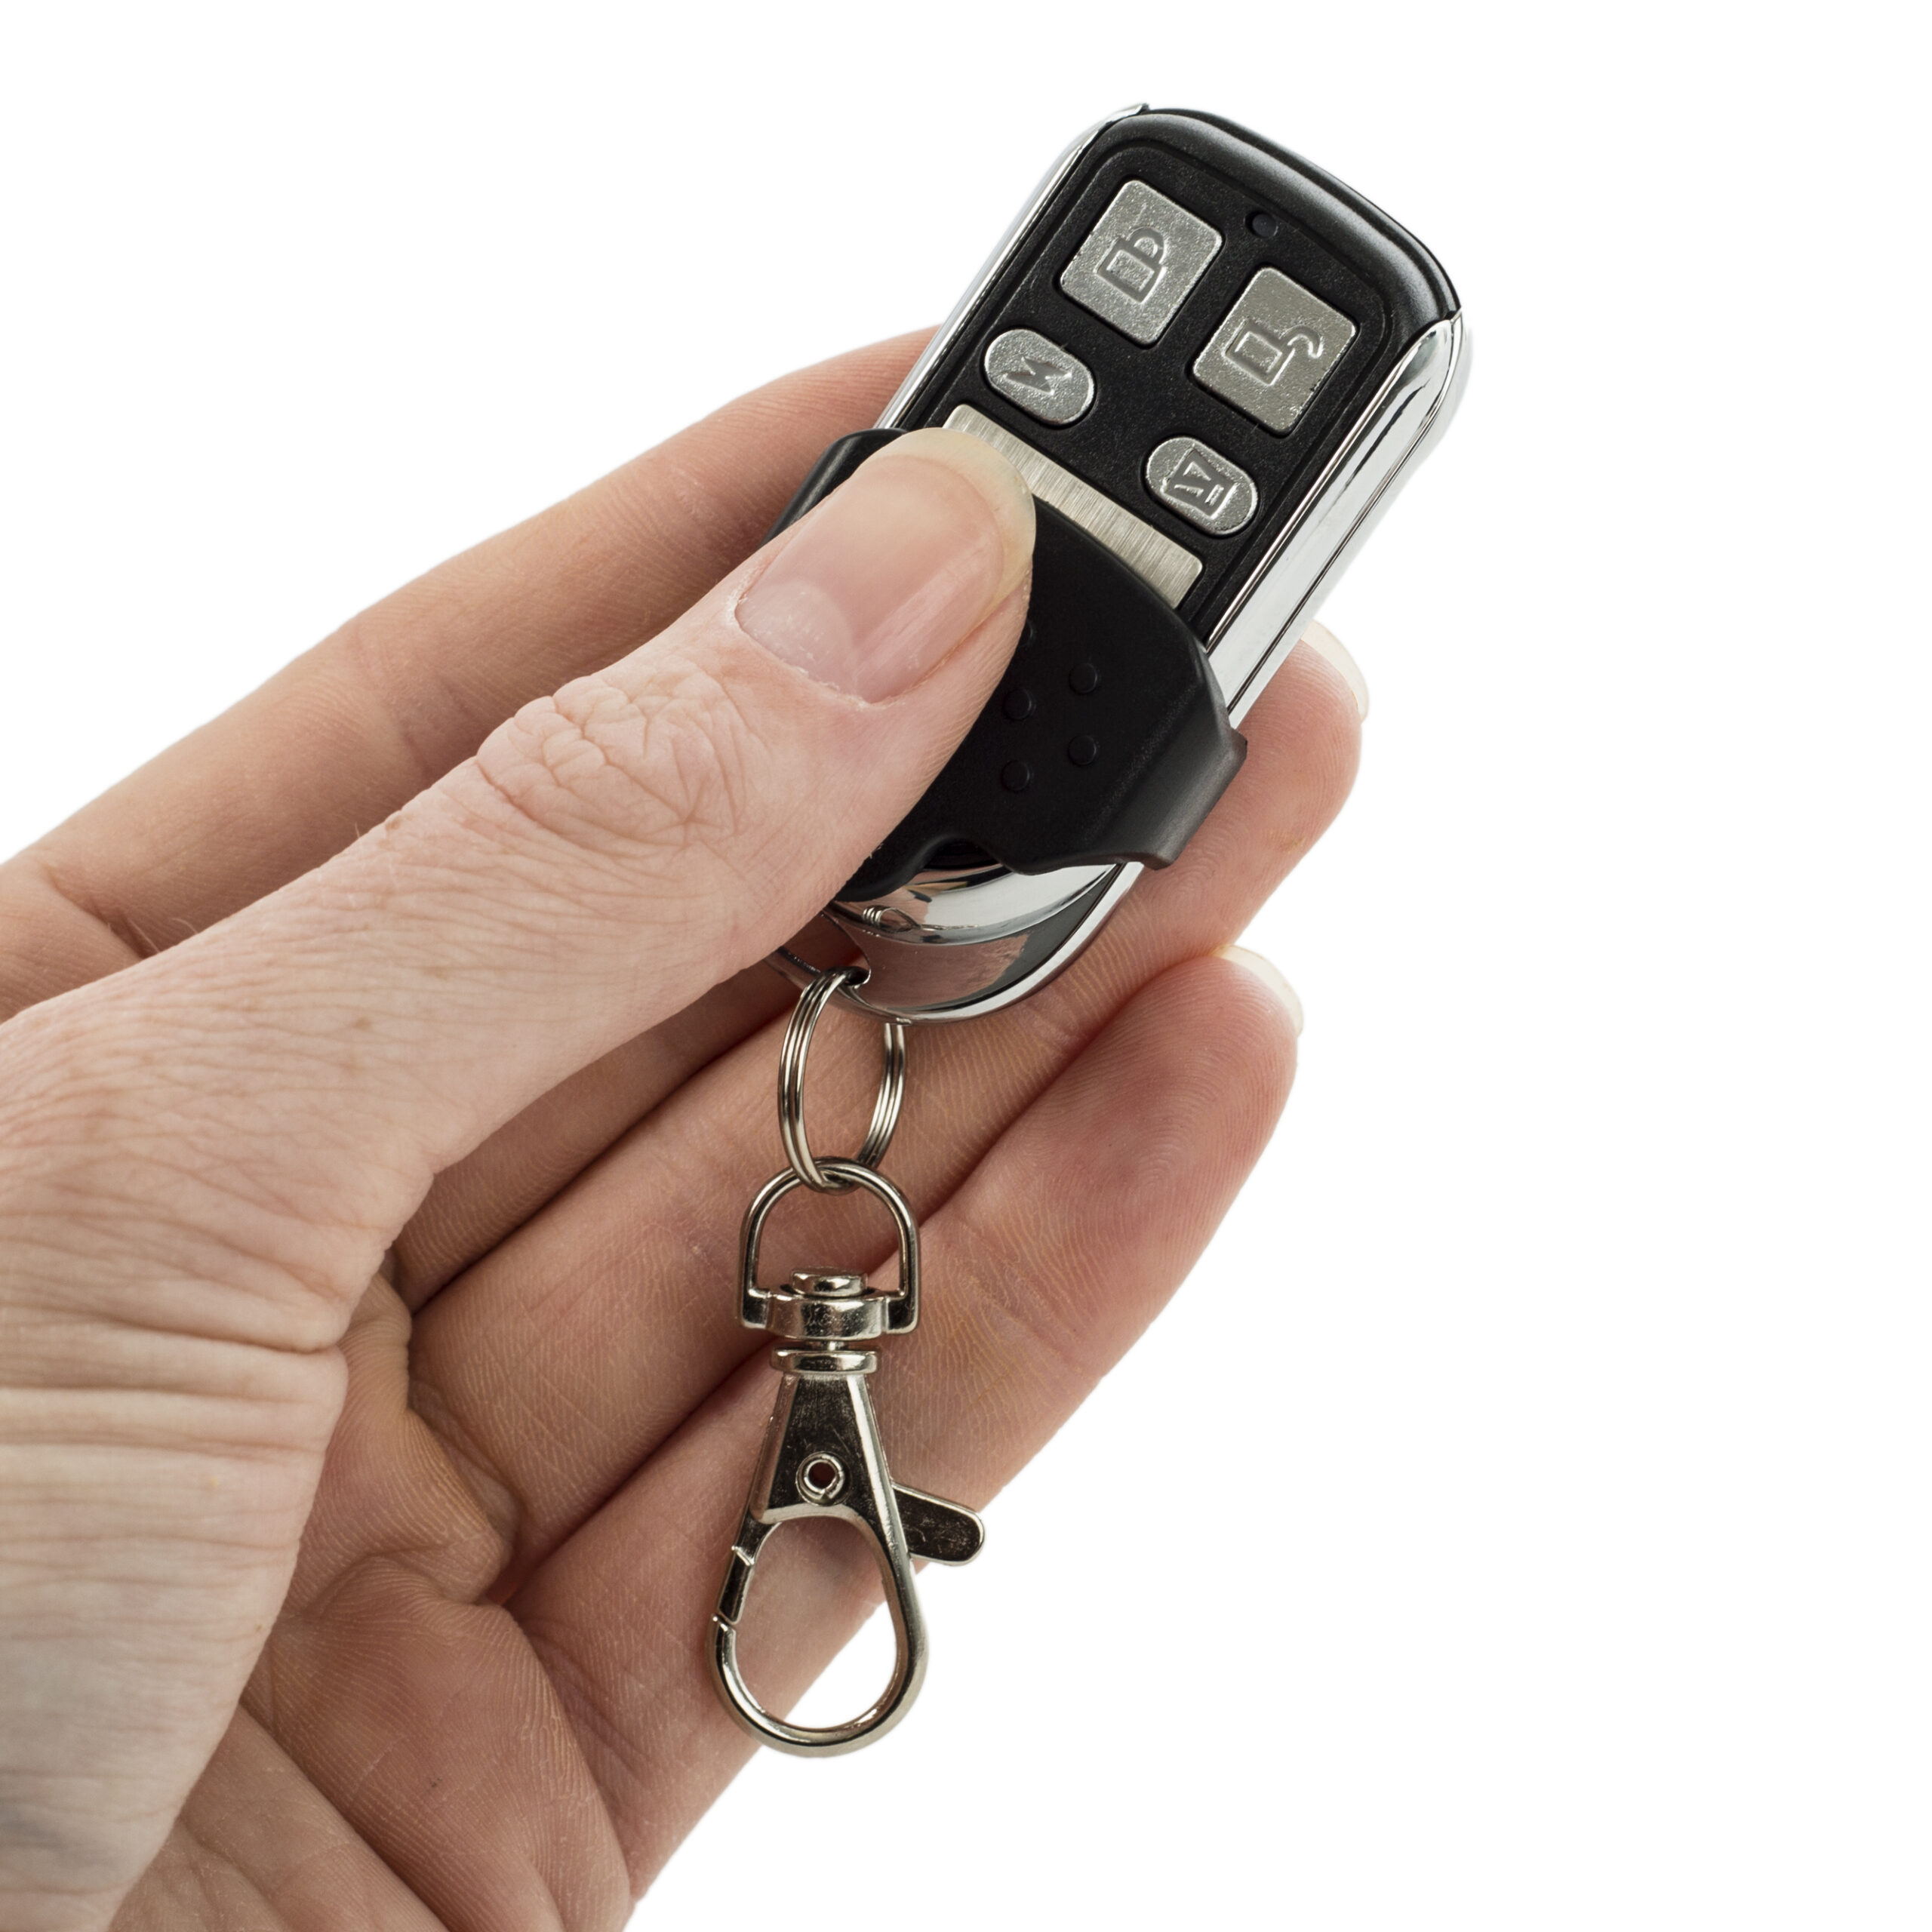
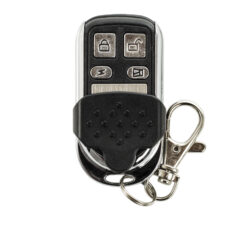
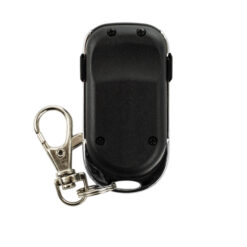
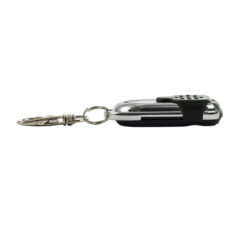
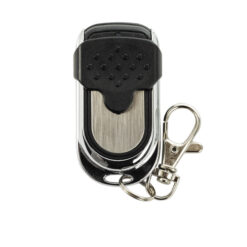
With a black casing complemented by a sturdy metal trim, these remotes are built to last. The sliding cover protects the buttons from dust and accidental presses, helping prolong the lifespan of the remote. Its compact design makes it practical and easy to carry without being bulky or cumbersome. This four-button, 4-channel remote allows you to control multiple garage doors or gate systems from one device, offering the same functionality and reliability you would expect from the RPC412 model. You can replace your old or lost remote without paying extra purely for branding.
ECA Garage & Gate Openers
- SL-400
- SL-450
- Max / DCP-240
- Big Foot 2200
- Ultra
- SG-200
- SW-300
- SG-560
- XR-900
- SR-5000
ECA Receivers
- 81CR
- 82CR
- 84RC
- ACR-6
- REA04B
If you would like confirmation if this would work, please send a photo of your remote control to our team on our contact us page.
ECA REA04B Remote Programming Instructions
First Method: Remote Receiver Teaching Method
1. Take the operational remote control and stand about 2 metres from the receiver.
2. Press and hold both buttons III and I on the original remote for 5 seconds. If this does not work, try holding buttons I and II instead.
3. After releasing the buttons, the LED light on the receiver will turn on. This indicates the receiver is ready to learn a new remote.
4. Press and hold one button on the new remote for 5 seconds, then release. The LED light will turn off to confirm the code has been stored.
Notes:
– This method works only if the WT jumper in the receiver is off.
– To disable this feature, place the WT jumper back onto the pins in the receiver.
– Refer to the receiver image for the jumper location.
Second Method: Manual Programming via Receiver Jumper
1. Remove the “Clear” jumper in the receiver. The LED light will turn on.
2. Press and release the button on the new remote you wish to program for 5 seconds.
3. Return the “Clear” jumper to its original position.
4. Repeat steps 1 to 3 for any additional remotes.


Reviews
There are no reviews yet.