


E-Guard Gate Remote Specifications
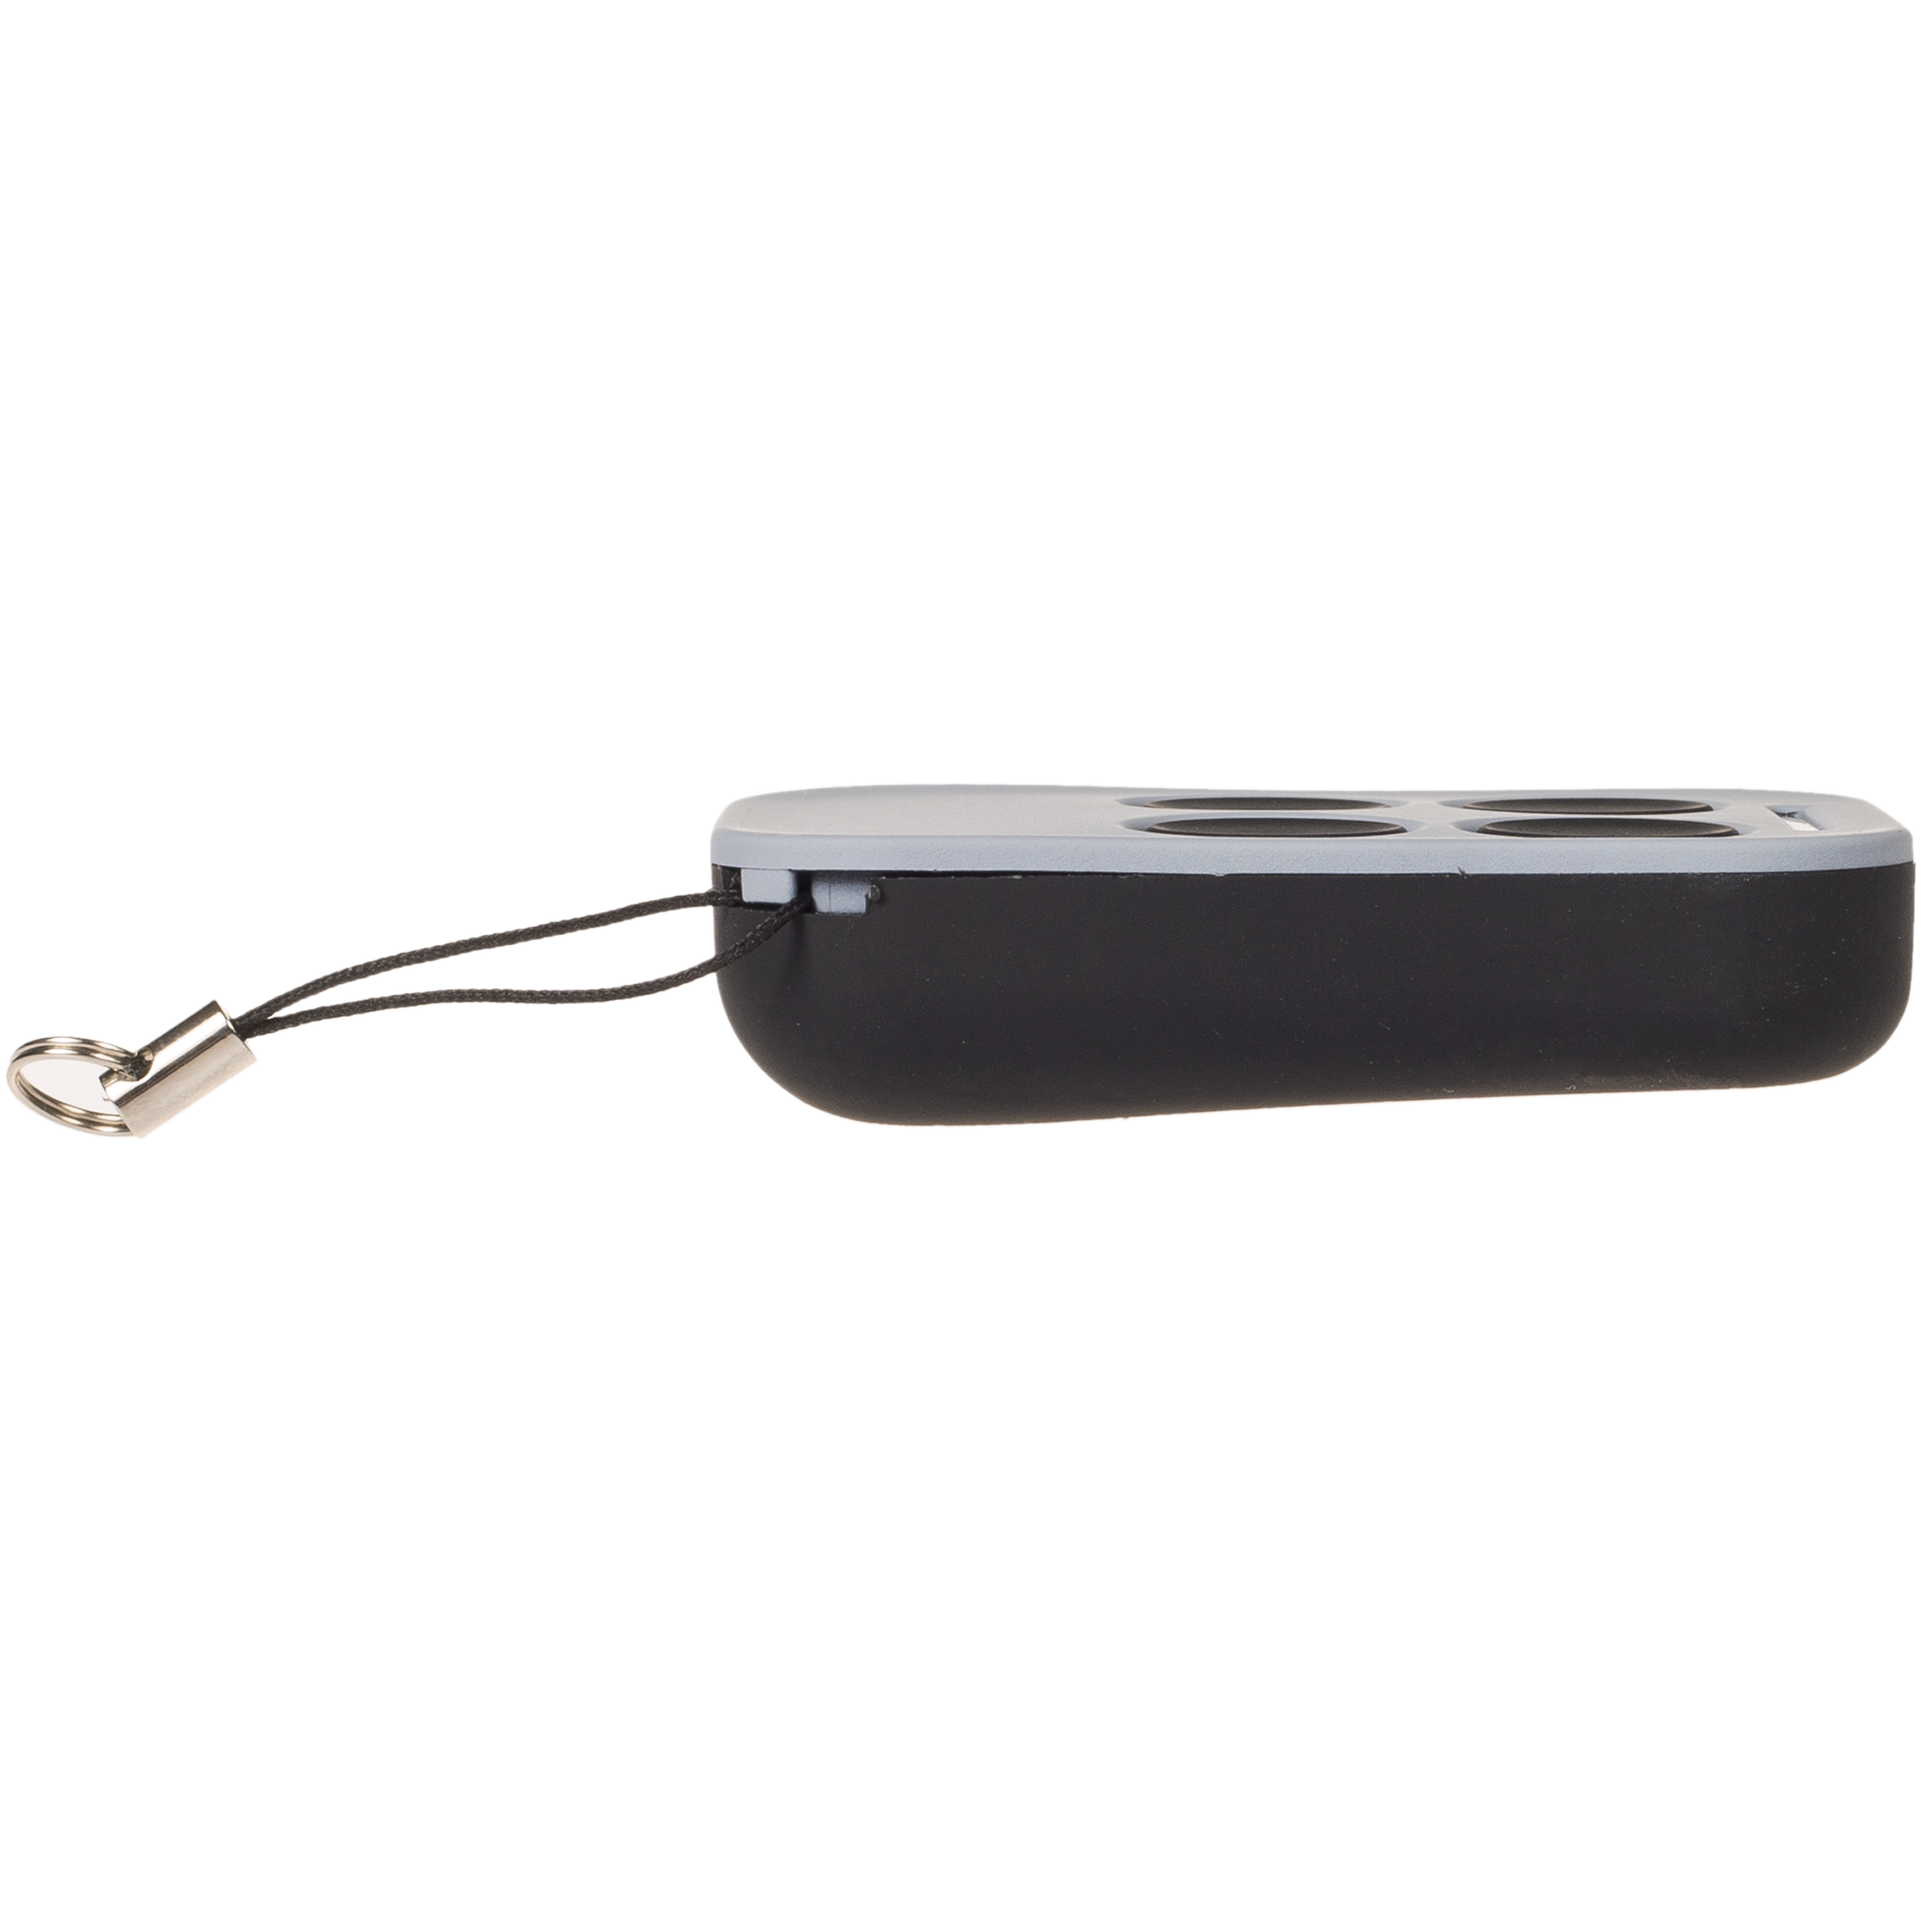
| Remote Dimensions | 5.5 x 3 x 1.4 (cm) |
| Remote Weight | 24g |
| Manufacturer | Wholesale Garage |
| Made To Suit | ECA Red |
| Model Number | WGC446, RPC446 |
| Batteries Included | Yes |
| Battery Type | 27A 12V Alkaline Battery |
| Warranty | 1 Year |
E-Guard Gate Remote Compatibility
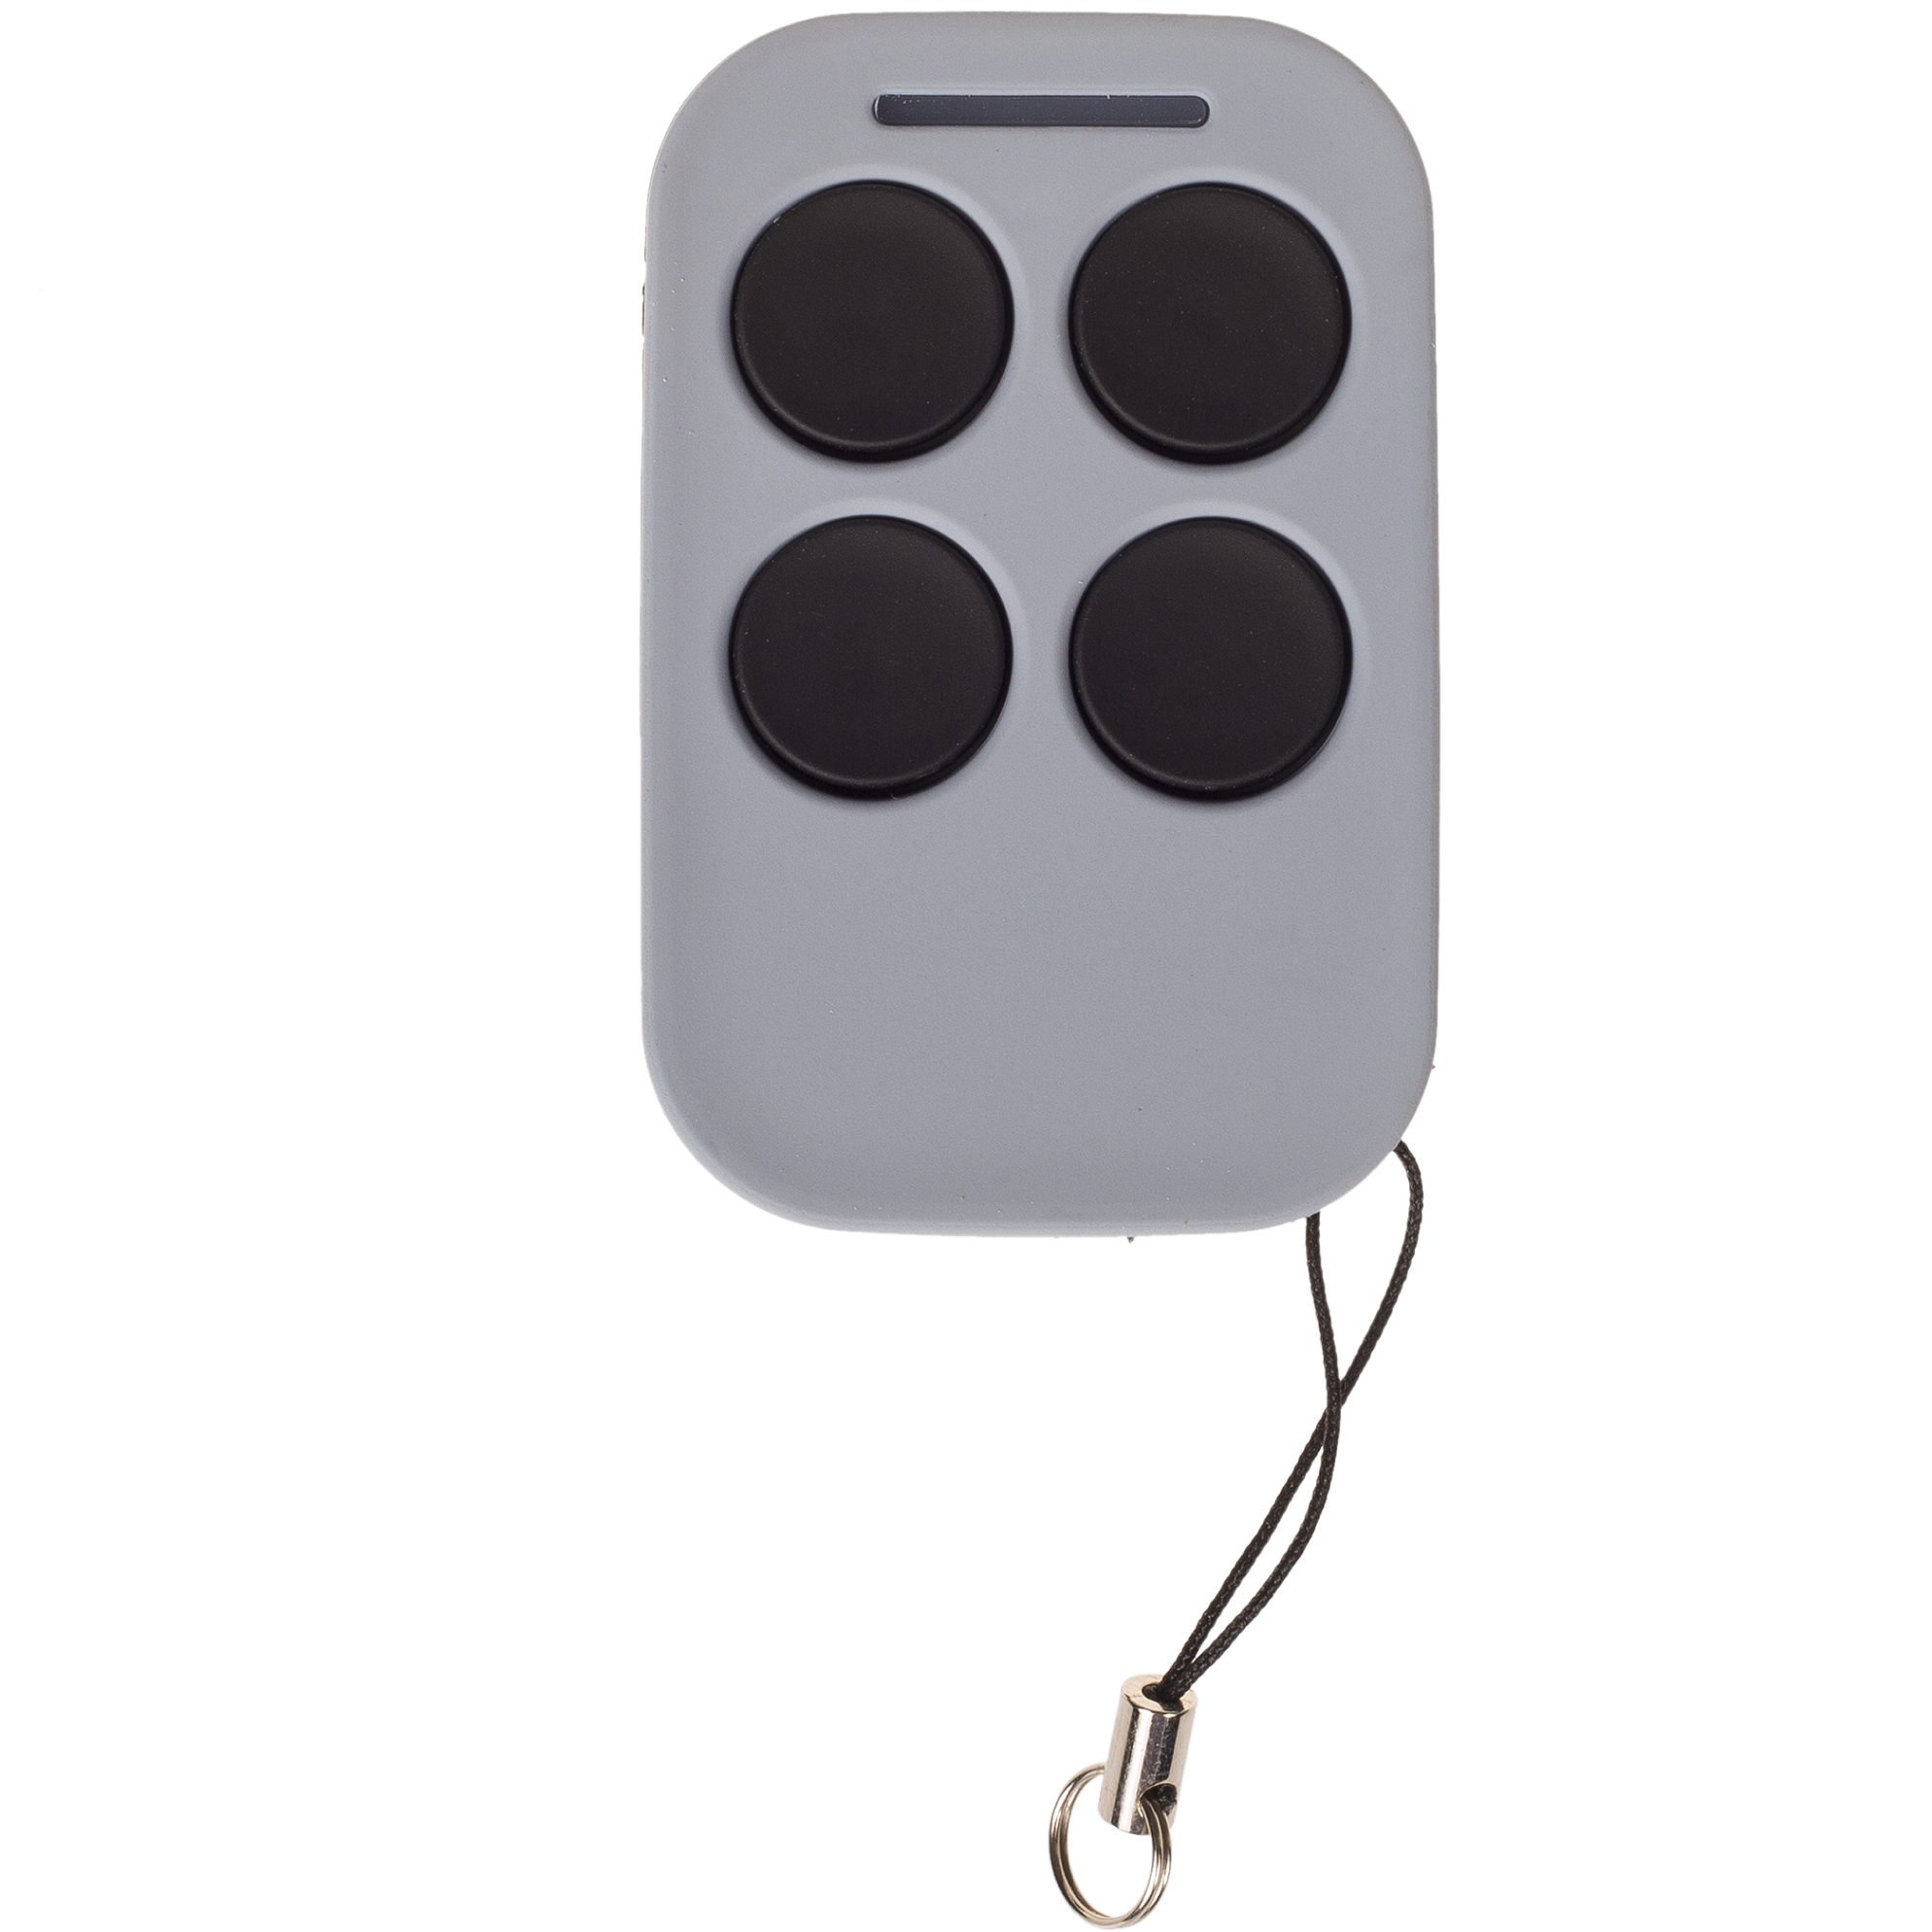
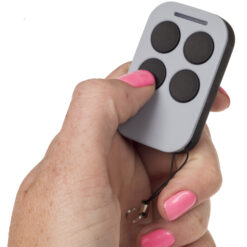
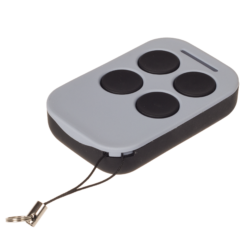
This E-Guard aftermarket remote control will suit the remotes pictured in the main image. Please note, if your remote control is not pictured this may not suit. Your remote must have red terminals, it will not replace the white or gold terminal remotes.
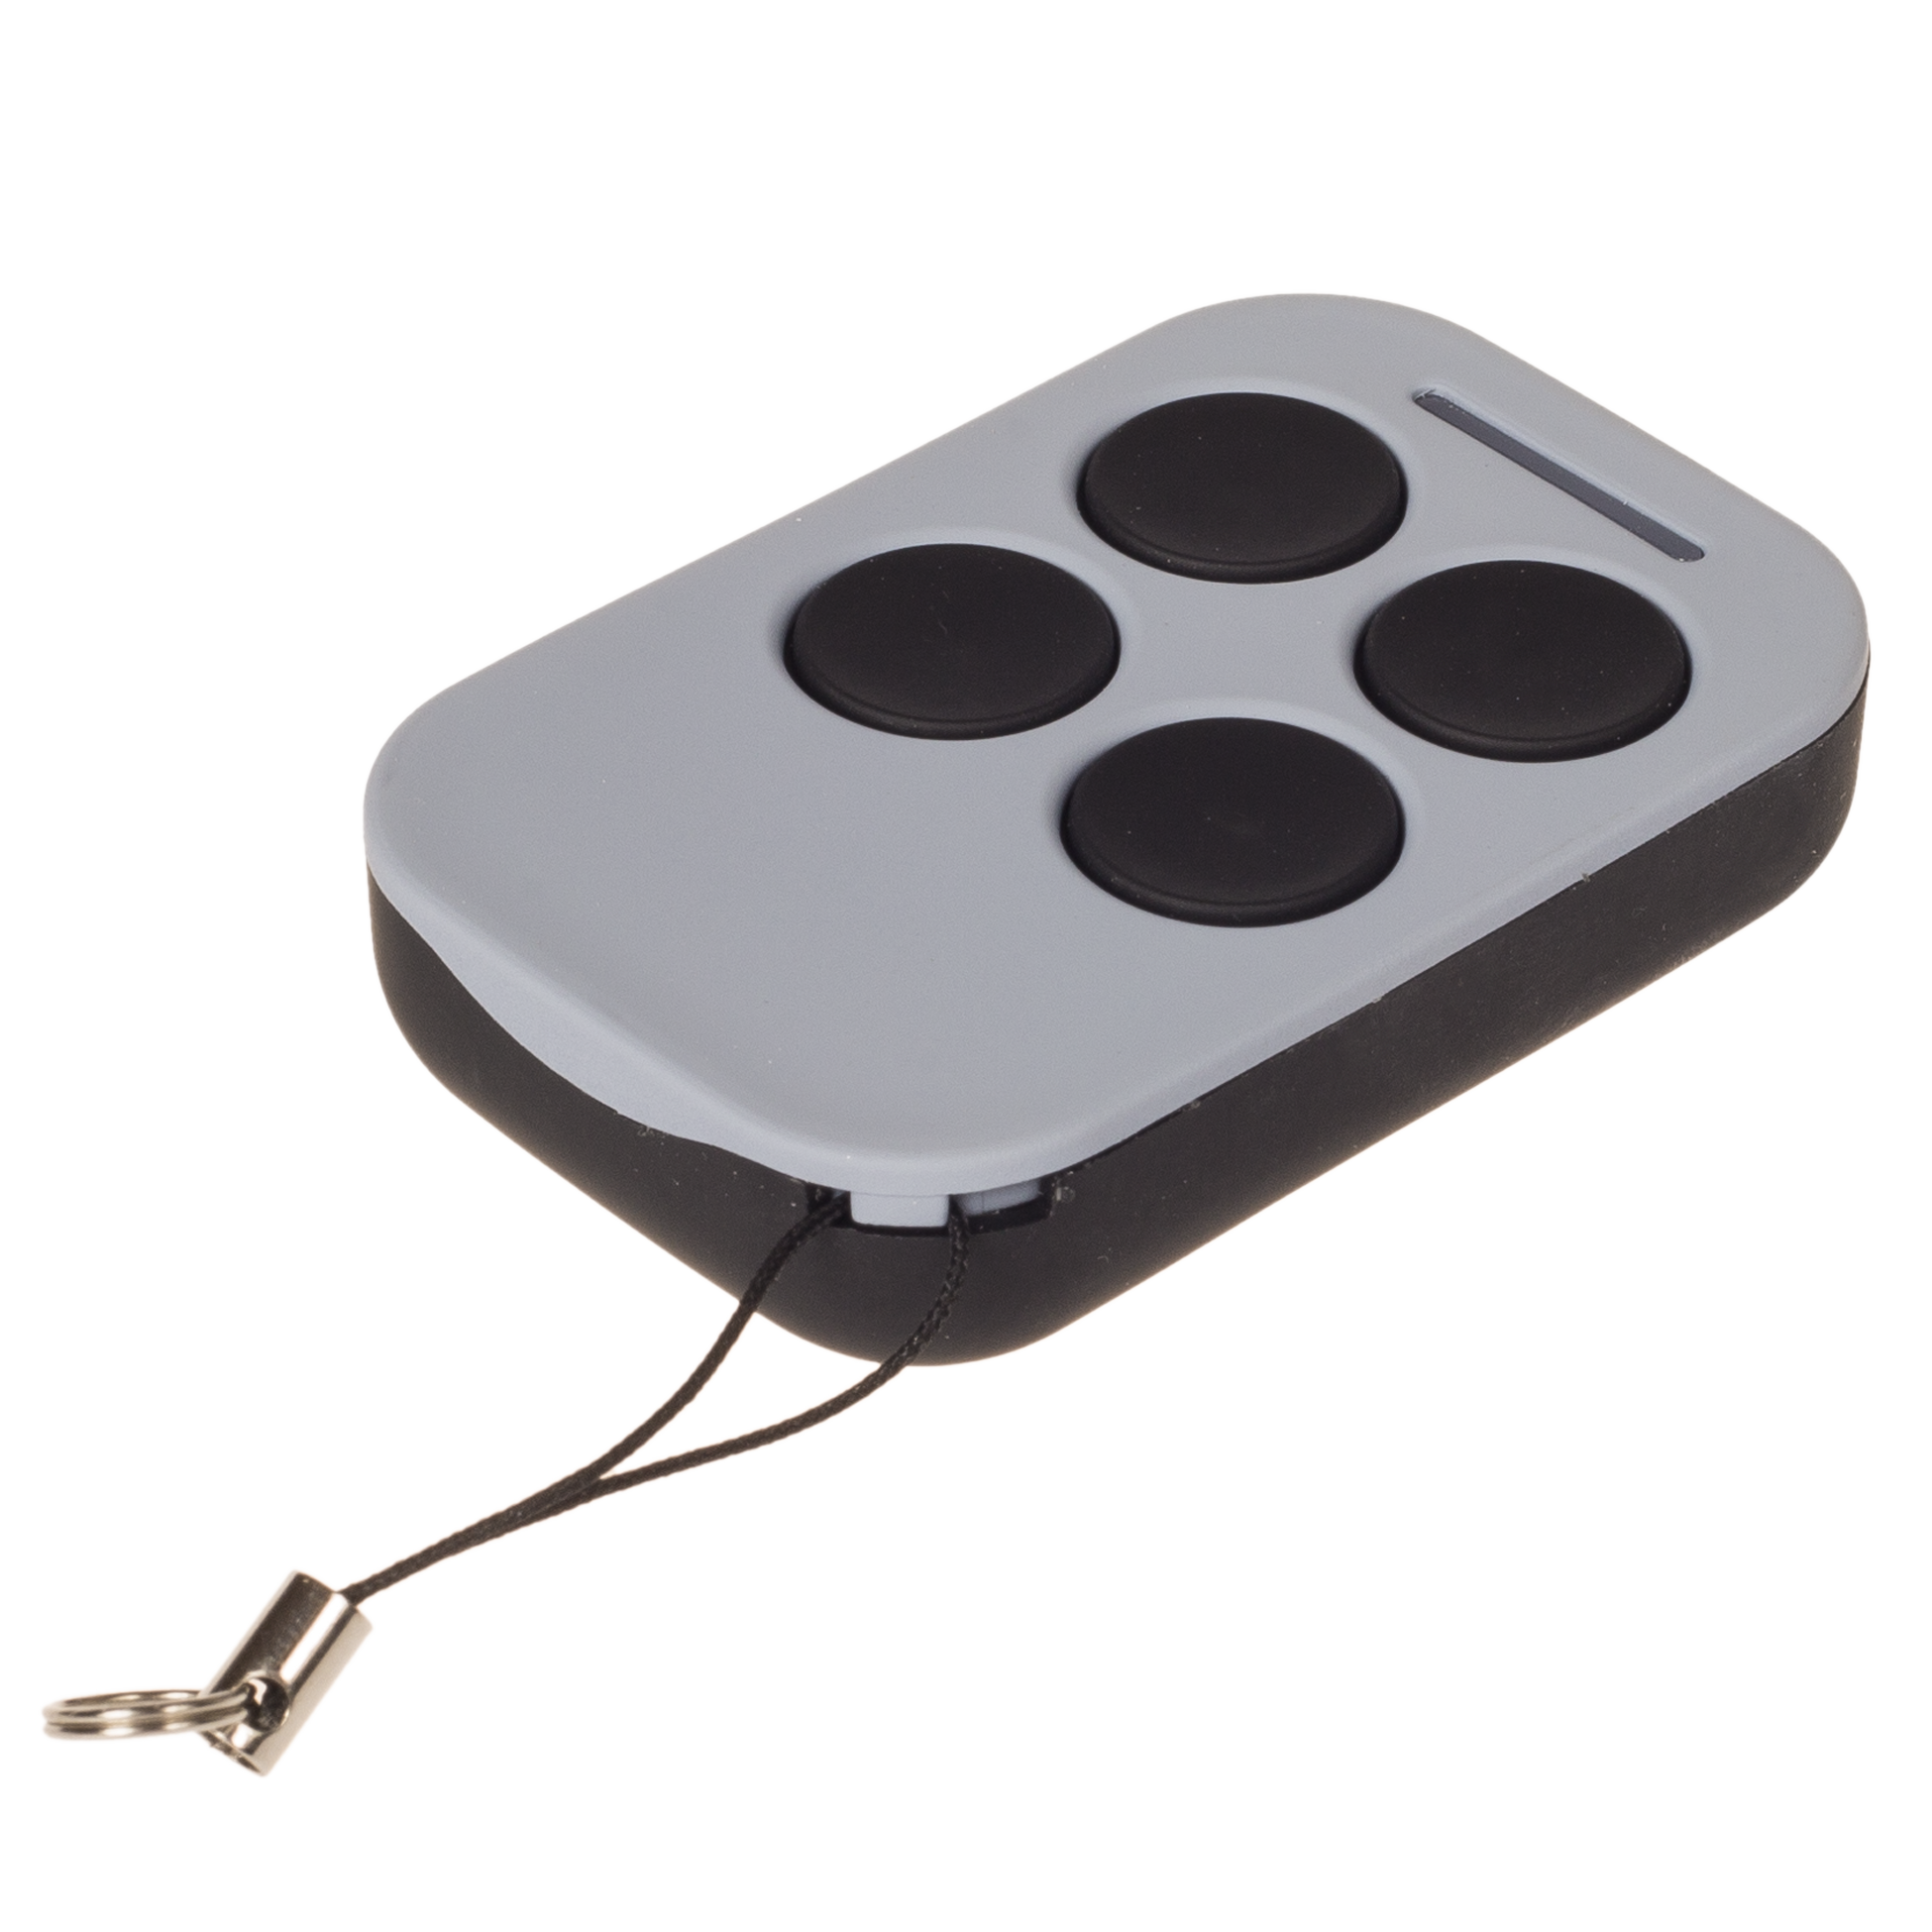
Whilst this remote may look similar to other black sliding cover remotes in the industry, this is not a ‘universal’ garage door remote.
- Suitable for E-Guard DC Gate Series
- DSS-128
- DSS-138
- DSS-148
- DSS-188
- SLS-175
- SLS-178
- NOT SUITABLE for E-Guard SLN-168 240vac motors
If you would like confirmation if this would work, please send a photo of your remote control to our team on our contact us page.
E-Guard Gate Remote Features
Our grey E-Guard aftermarket remote controls are specifically designed to suit E-Guard garage door and gate openers. Its compact design makes it handy and easy to carry, so you don’t have to worry about bulky or cumbersome remotes. Moreover, this four-button, 4-channel remote is highly versatile, allowing you to effortlessly control multiple garage doors or gate systems with a single device.
This means you can now easily replace your old or lost remotes without breaking the bank. The four-button configuration empowers users to perform various functions or control multiple devices with ease. Additionally, the setup and programming process is extremely user-friendly, making it perfect for both tech-savvy individuals and those who might not be as comfortable with technology. Enhance your garage door experience with this sleek, robust, and multi-functional aftermarket remote control.
E-Guard Gate Programming Instructions
E-GUARD BUTTON FUNCTIONS
• Button 1 – Operates a single gate
• Button 2 – Operates double gates
• Button 3 – Alarm output
• Button 4 – Not used
PROGRAMMING YOUR REMOTE
- Locate and press the LEARN button on the control board for 1 second.
• The LED indicator will turn OFF.
• The motor is now in learning mode. - Press and hold any button on the new remote for 2 seconds.
• The digital display will show the remote number.
• The LED indicator on the control board will flash 4 times and the buzzer will sound once to confirm successful programming.
Note:
• If no signal is received within 5 seconds after pressing the LEARN button, the motor will automatically exit learning mode.


Reviews
There are no reviews yet.