


Remote Pro RPD404 Garage Door Remote Specifications
| Remote Dimensions | 5.5 x 3 x 1.4(cm) |
| Remote Weight | 24g |
| Manufacturer | Wholesale Garage |
| Made To Suit | SEAV TXS11 TXS2,TXS3, TXS4 |
| Model Number | WGC409, RPC409 |
| Batteries Included | Yes |
| Battery Type | 27A 12V Alkaline Battery |
| Warranty | 1 Year |
Remote Pro RPD404 Aftermarket Garage Door Remote Compatibility
This RPD404 garage door remote replacement is compatible with RemotePro RPC407 systems. If your current remote has RPD404 written on the front, this remote will program and operate exactly the same.
Whilst this remote may look similar to other black sliding cover remotes in the industry, this is not a ‘universal’ garage door remote.
See the full range of Remote Pro Aftermarket Garage Door and Gate Remotes here
RemotePro RPD404 Aftermarket Garage Door Remote Features
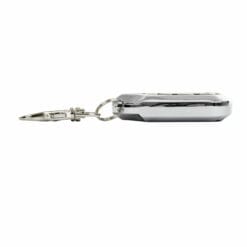
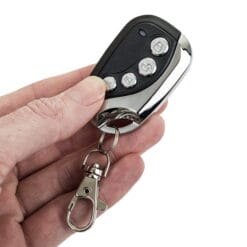
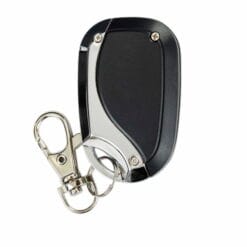
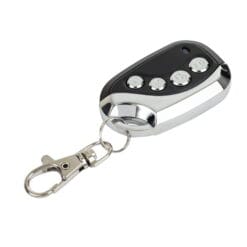
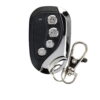
With a black casing complemented by a sturdy metal trim, these remotes are built to last. The sliding cover protects the buttons from dust and accidental presses, helping prolong the lifespan of the remote. Its compact design makes it practical and easy to carry without being bulky or cumbersome. This four-button, 4-channel remote allows you to control multiple garage doors or gate systems from one device, offering the same functionality and reliability you would expect from the RPD404 model. You can replace your old or lost remote without paying extra purely for branding.
RPD404 Programming Instructions
Step 1: Factory Code Erasure
1. Begin by pressing and firmly holding the top two buttons simultaneously. These buttons may display an unlock/lock symbol, numbers 1 & 2, or an up and down arrow. Keep holding them until you observe a brief LED flash followed by its extinguishment.
2. While maintaining your hold on the first button (lock, UP, or button 1), release the second button (unlock, down, or number 2). Next, press the second button three times. The LED will flash again, confirming the successful deletion of the factory code.
3. Release all buttons.
4. To verify the removal of the factory code, test the remote by pressing any button. If the deletion was successful, the LED should not respond when you press any button.
Step 2: Code Duplication from an Operational Remote
1. Position your new remote and the original operational remote close together. Experiment with various orientations, such as facing each other or back to back.
2. Press and hold the button on your new remote that you want to use for operating your door. The LED will quickly flash and then turn off, indicating that your duplicator remote is now in “learn-code” mode. Keep holding this button without releasing it.
3. Press and hold the button on your original remote that operates your door. This action will transmit the signal for your new remote to learn. Once you observe the LED light on your new remote flashing continuously, the coding process has been successfully completed.
4. Release all buttons, and then test your new remote to ensure its functionality.
How to Restore an Accidentally Erased Remote Control:
1. Press and hold the bottom two buttons on your new remote for 5 seconds. This action will restore the remote control that was accidentally erased.


Reviews
There are no reviews yet.