Remote Pro RPD402 Garage Door Remote Specifications
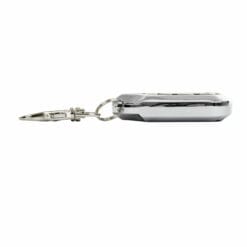
| Remote Dimensions | 5.5 x 3.5 x 1.2 (cm) |
| Remote Weight | 24g |
| Manufacturer | Wholesale Garage |
| Made To Suit | Dominator ADS |
| Model Number | WGD402, RPD402 |
| Batteries Included | Yes |
| Battery Type | 27A 12V Alkaline Battery |
| Warranty | 1 Year |
Aftermarket Remote Pro RPD402 Garage Door Remote Compatibility
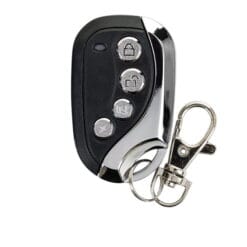
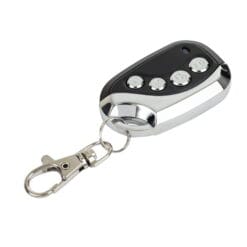
This aftermarket remote control will suit the Remote Pro RPD402 remote pictured in the main image.
Whilst this remote may look similar to other black sliding cover remotes in the industry, this is not a ‘universal’ garage door remote.
Aftermarket Remote Pro RPD402 Garage Door Remote Features
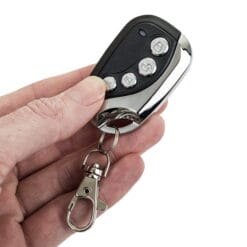
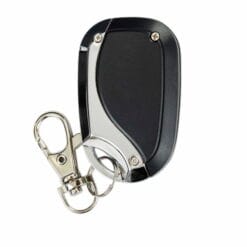
Our black aftermarket remote control is designed as a direct replacement for the Remote Pro RPD402 garage door and gate openers. Featuring a durable black casing with a sturdy metal trim, this remote offers a sleek, modern design while ensuring long-lasting performance. With a compact, ergonomic design, this remote fits comfortably in your hand or pocket, making it easy to carry without added bulk. The four-button, 4-channel configuration provides exceptional versatility, allowing you to control multiple garage doors, gates, or other compatible systems from a single device.
Replacing lost or broken remotes has never been easier or more affordable. The simple programming process ensures a hassle-free setup, making it perfect for both tech-savvy users and those new to remote pairing. Upgrade your garage or gate system today with this stylish, functional, and reliable aftermarket remote control.
Aftermarket Remote Pro RPD402 Programming Instructions
1. Press and hold the top two buttons at the same time and do not let go (these will either be an unlock/lock symbol, numbers 1 & 2 or an up and down arrow) and are the buttons closest to the light. After a few seconds the LED will flash and then go out.
2. While still holding the first button (lock, UP or button 1) quickly release the second button (unlock, down or number 2) and then press it 3 times. The LED light will flash again to indicate that the remote is ready to copy.
3. Release all buttons.
4. Test the remote by quickly pressing and releasing any button on the new remote. If successful, the LED should not work when you press any button and appear as though the battery is flat.
5. Place both your new remote and original remote together. You may need to try different positions, head to head, back to back, side to side etc. (every remote is different the subsequent steps may need to be tried a few times before the new remote accepts the code)
6. Press and hold one button on your new remote you wish to operate your door. The LED will flash quickly and then go out to indicate that your duplicator remote is in the “learn-code” mode. Do not release this button
7. Press and hold the button that operates your door on your original remote – this will send out the signal for your new remote to learn. When you see the LED light on your new remote start flashing constantly – then coding has been successful.
8. Release all the buttons, and then test your new remote to make sure that it is working.
How to Restore Remote Control Back to Factory:
1. Press and hold the bottom 2 buttons on your new remote for 5 seconds.




Reviews
There are no reviews yet.