


Remote Pro RPC407 Garage Door Remote Specifications
| Remote Dimensions | 5.5 x 3 x 1.4(cm) |
| Remote Weight | 24g |
| Manufacturer | Wholesale Garage |
| Made To Suit | BFT |
| Model Number | RPC407, WGC407 |
| Batteries Included | Yes |
| Battery Type | 27A 12V Alkaline Battery |
| Warranty | 1 Year |
Remote Pro RPC407 Aftermarket Garage Door Remote Compatibility
This RPC407 garage door remote replacement is compatible with RemotePro RPC407 systems. If your current remote has RPC407 written on the front, this remote will program and operate exactly the same.
Whilst this remote may look similar to other black sliding cover remotes in the industry, this is not a ‘universal’ garage door remote.
See the full range of Remote Pro Aftermarket Garage Door and Gate Remotes here
RemotePro RPC407 Aftermarket Garage Door Remote Features
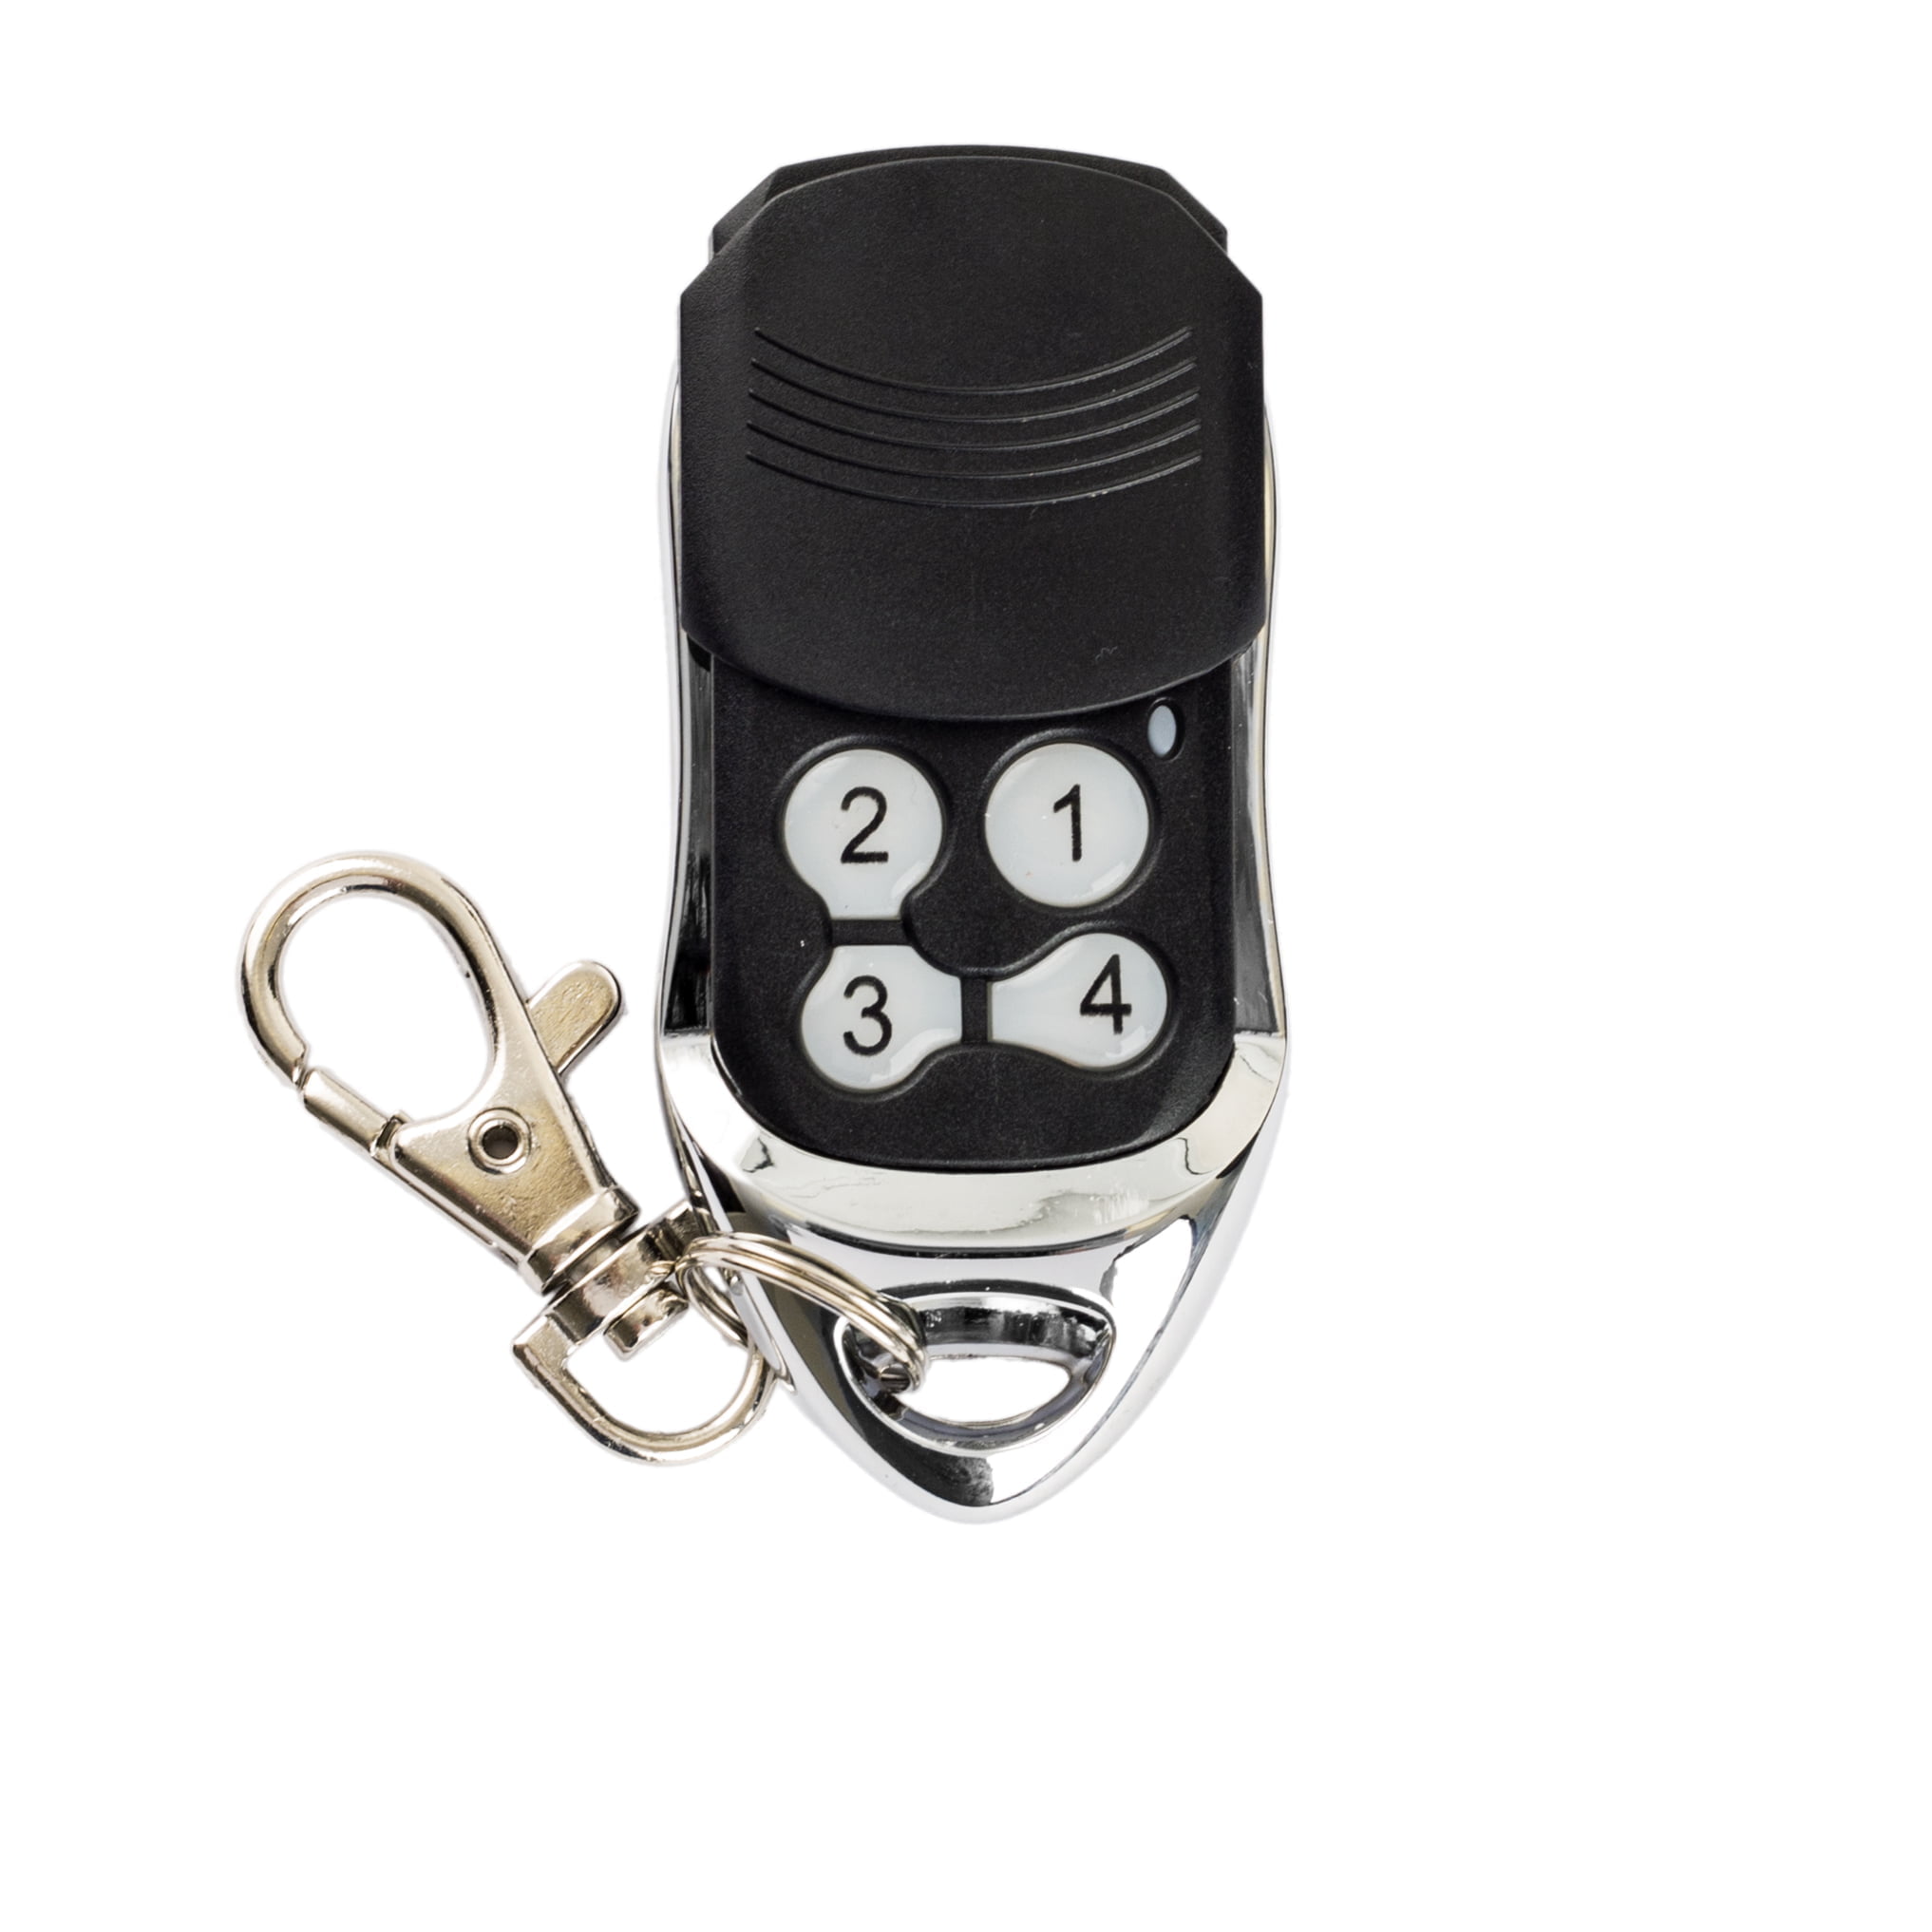
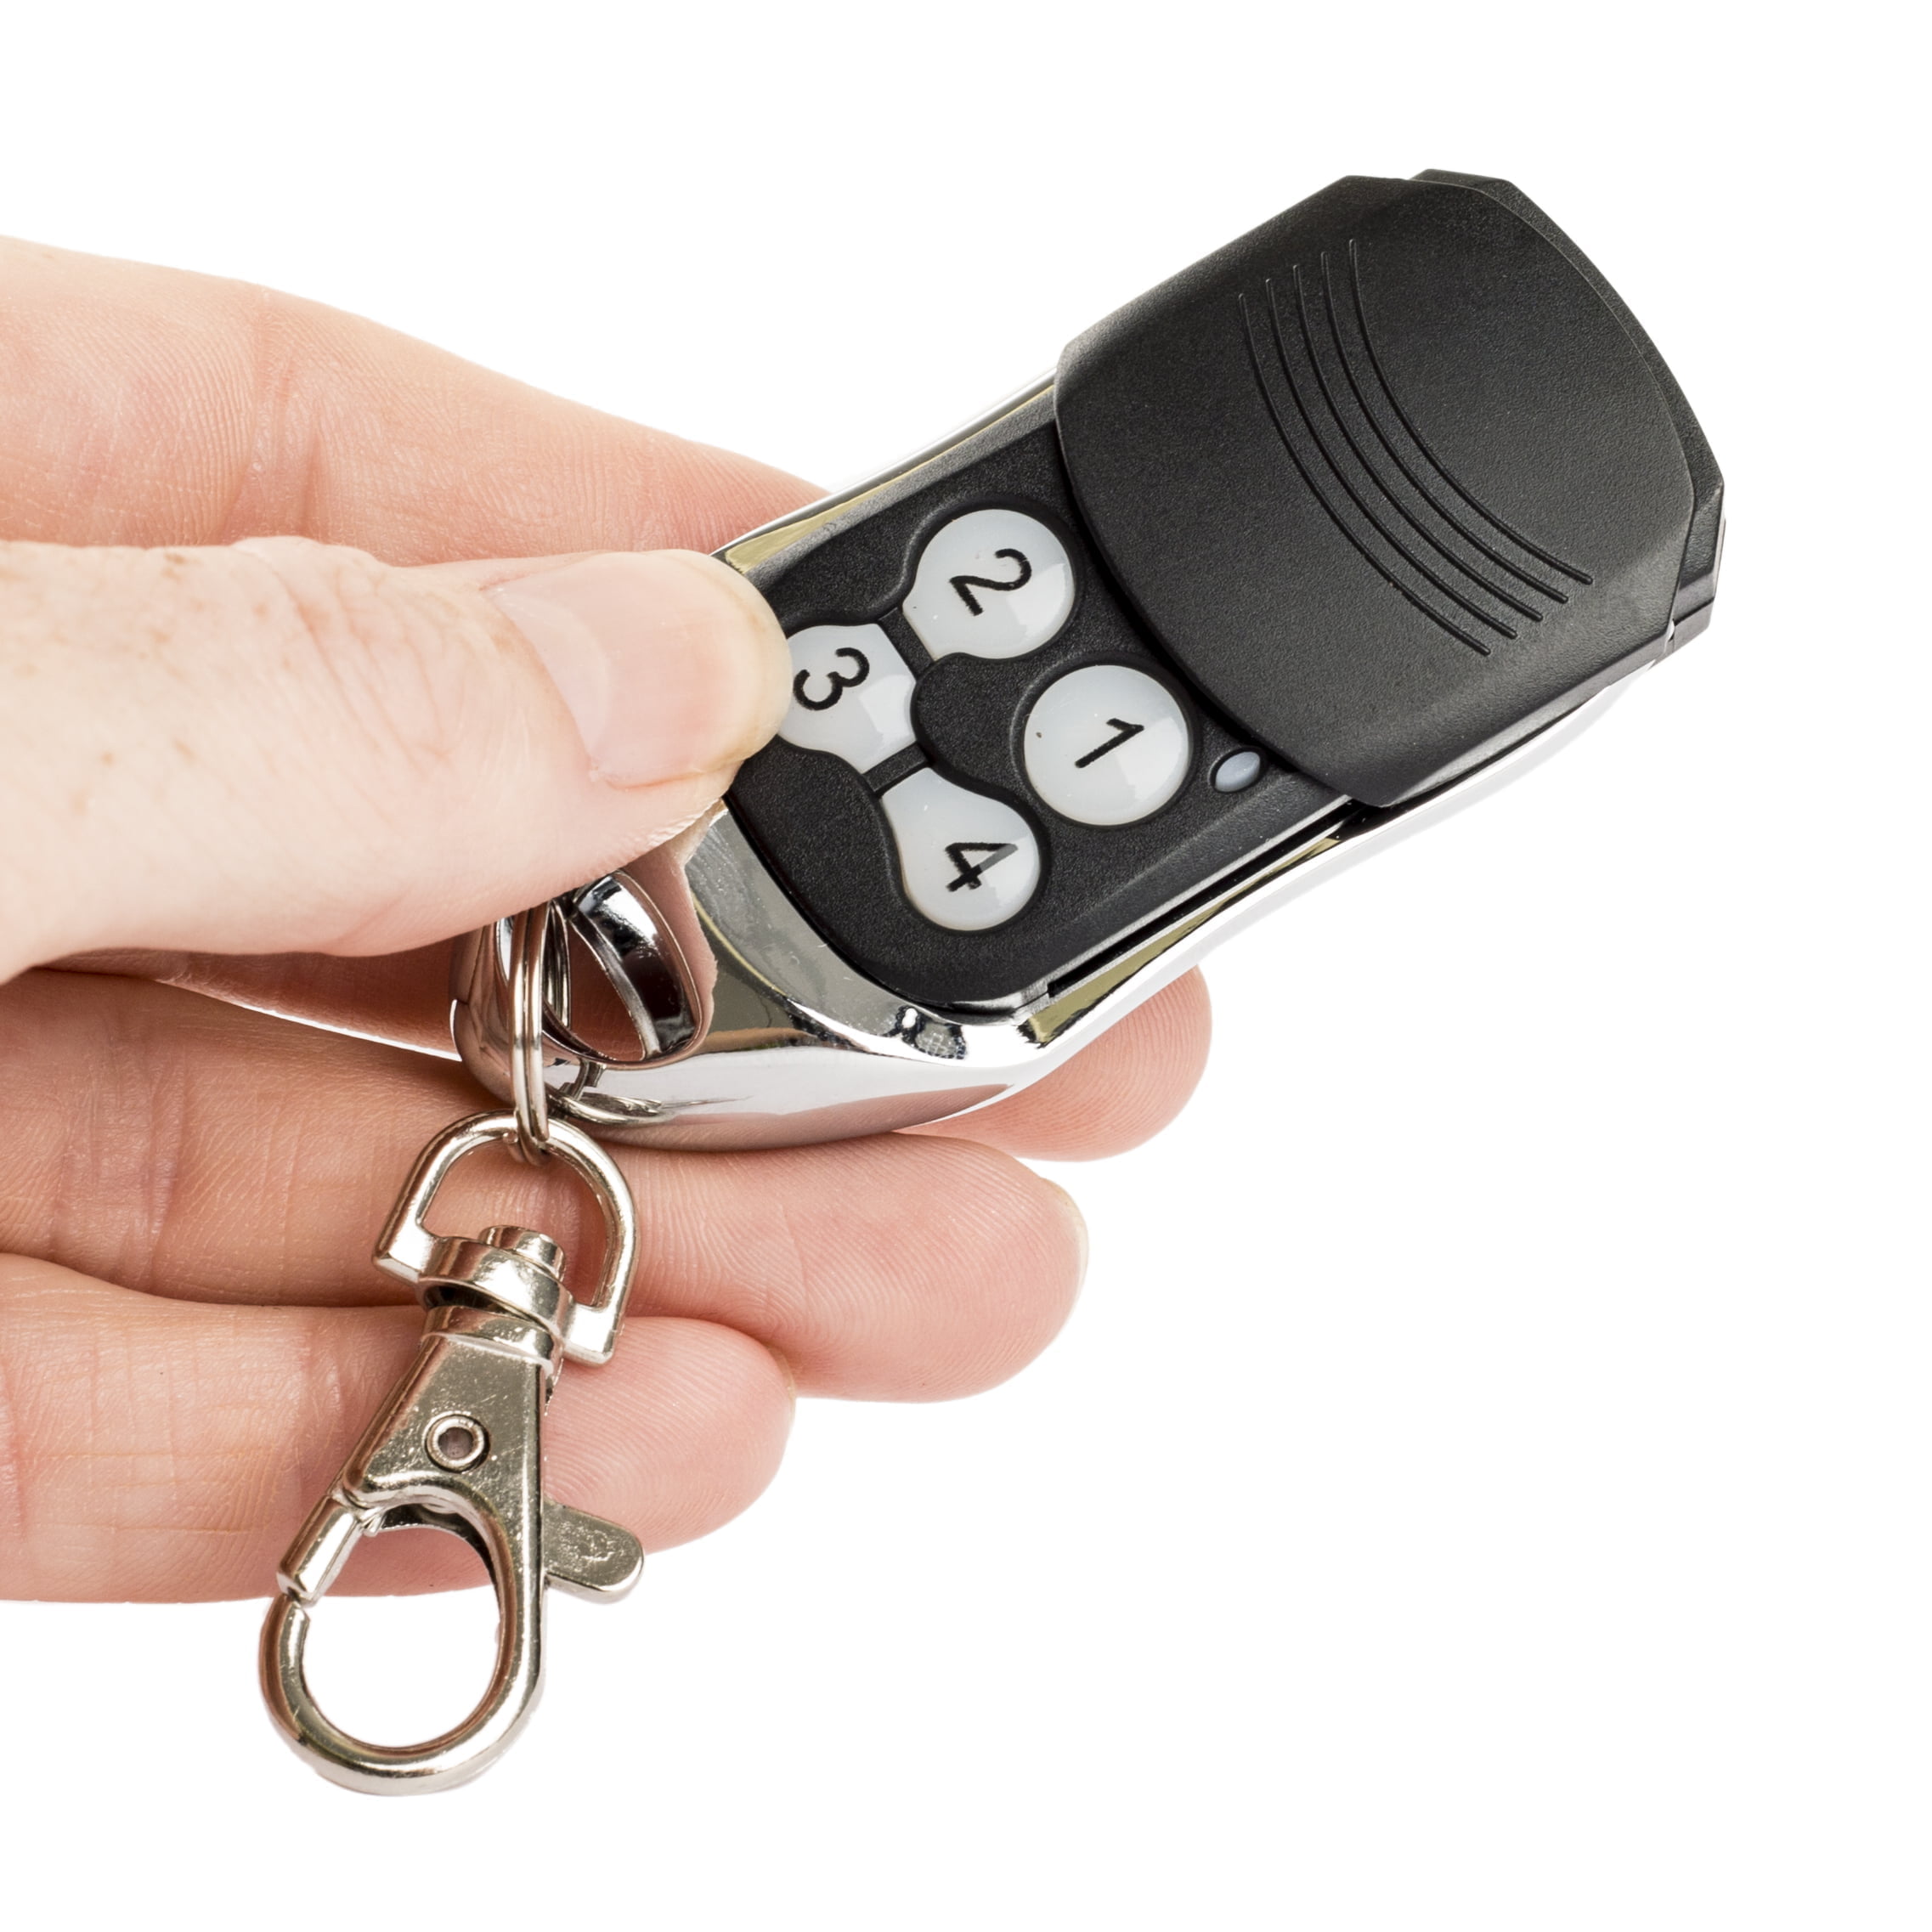
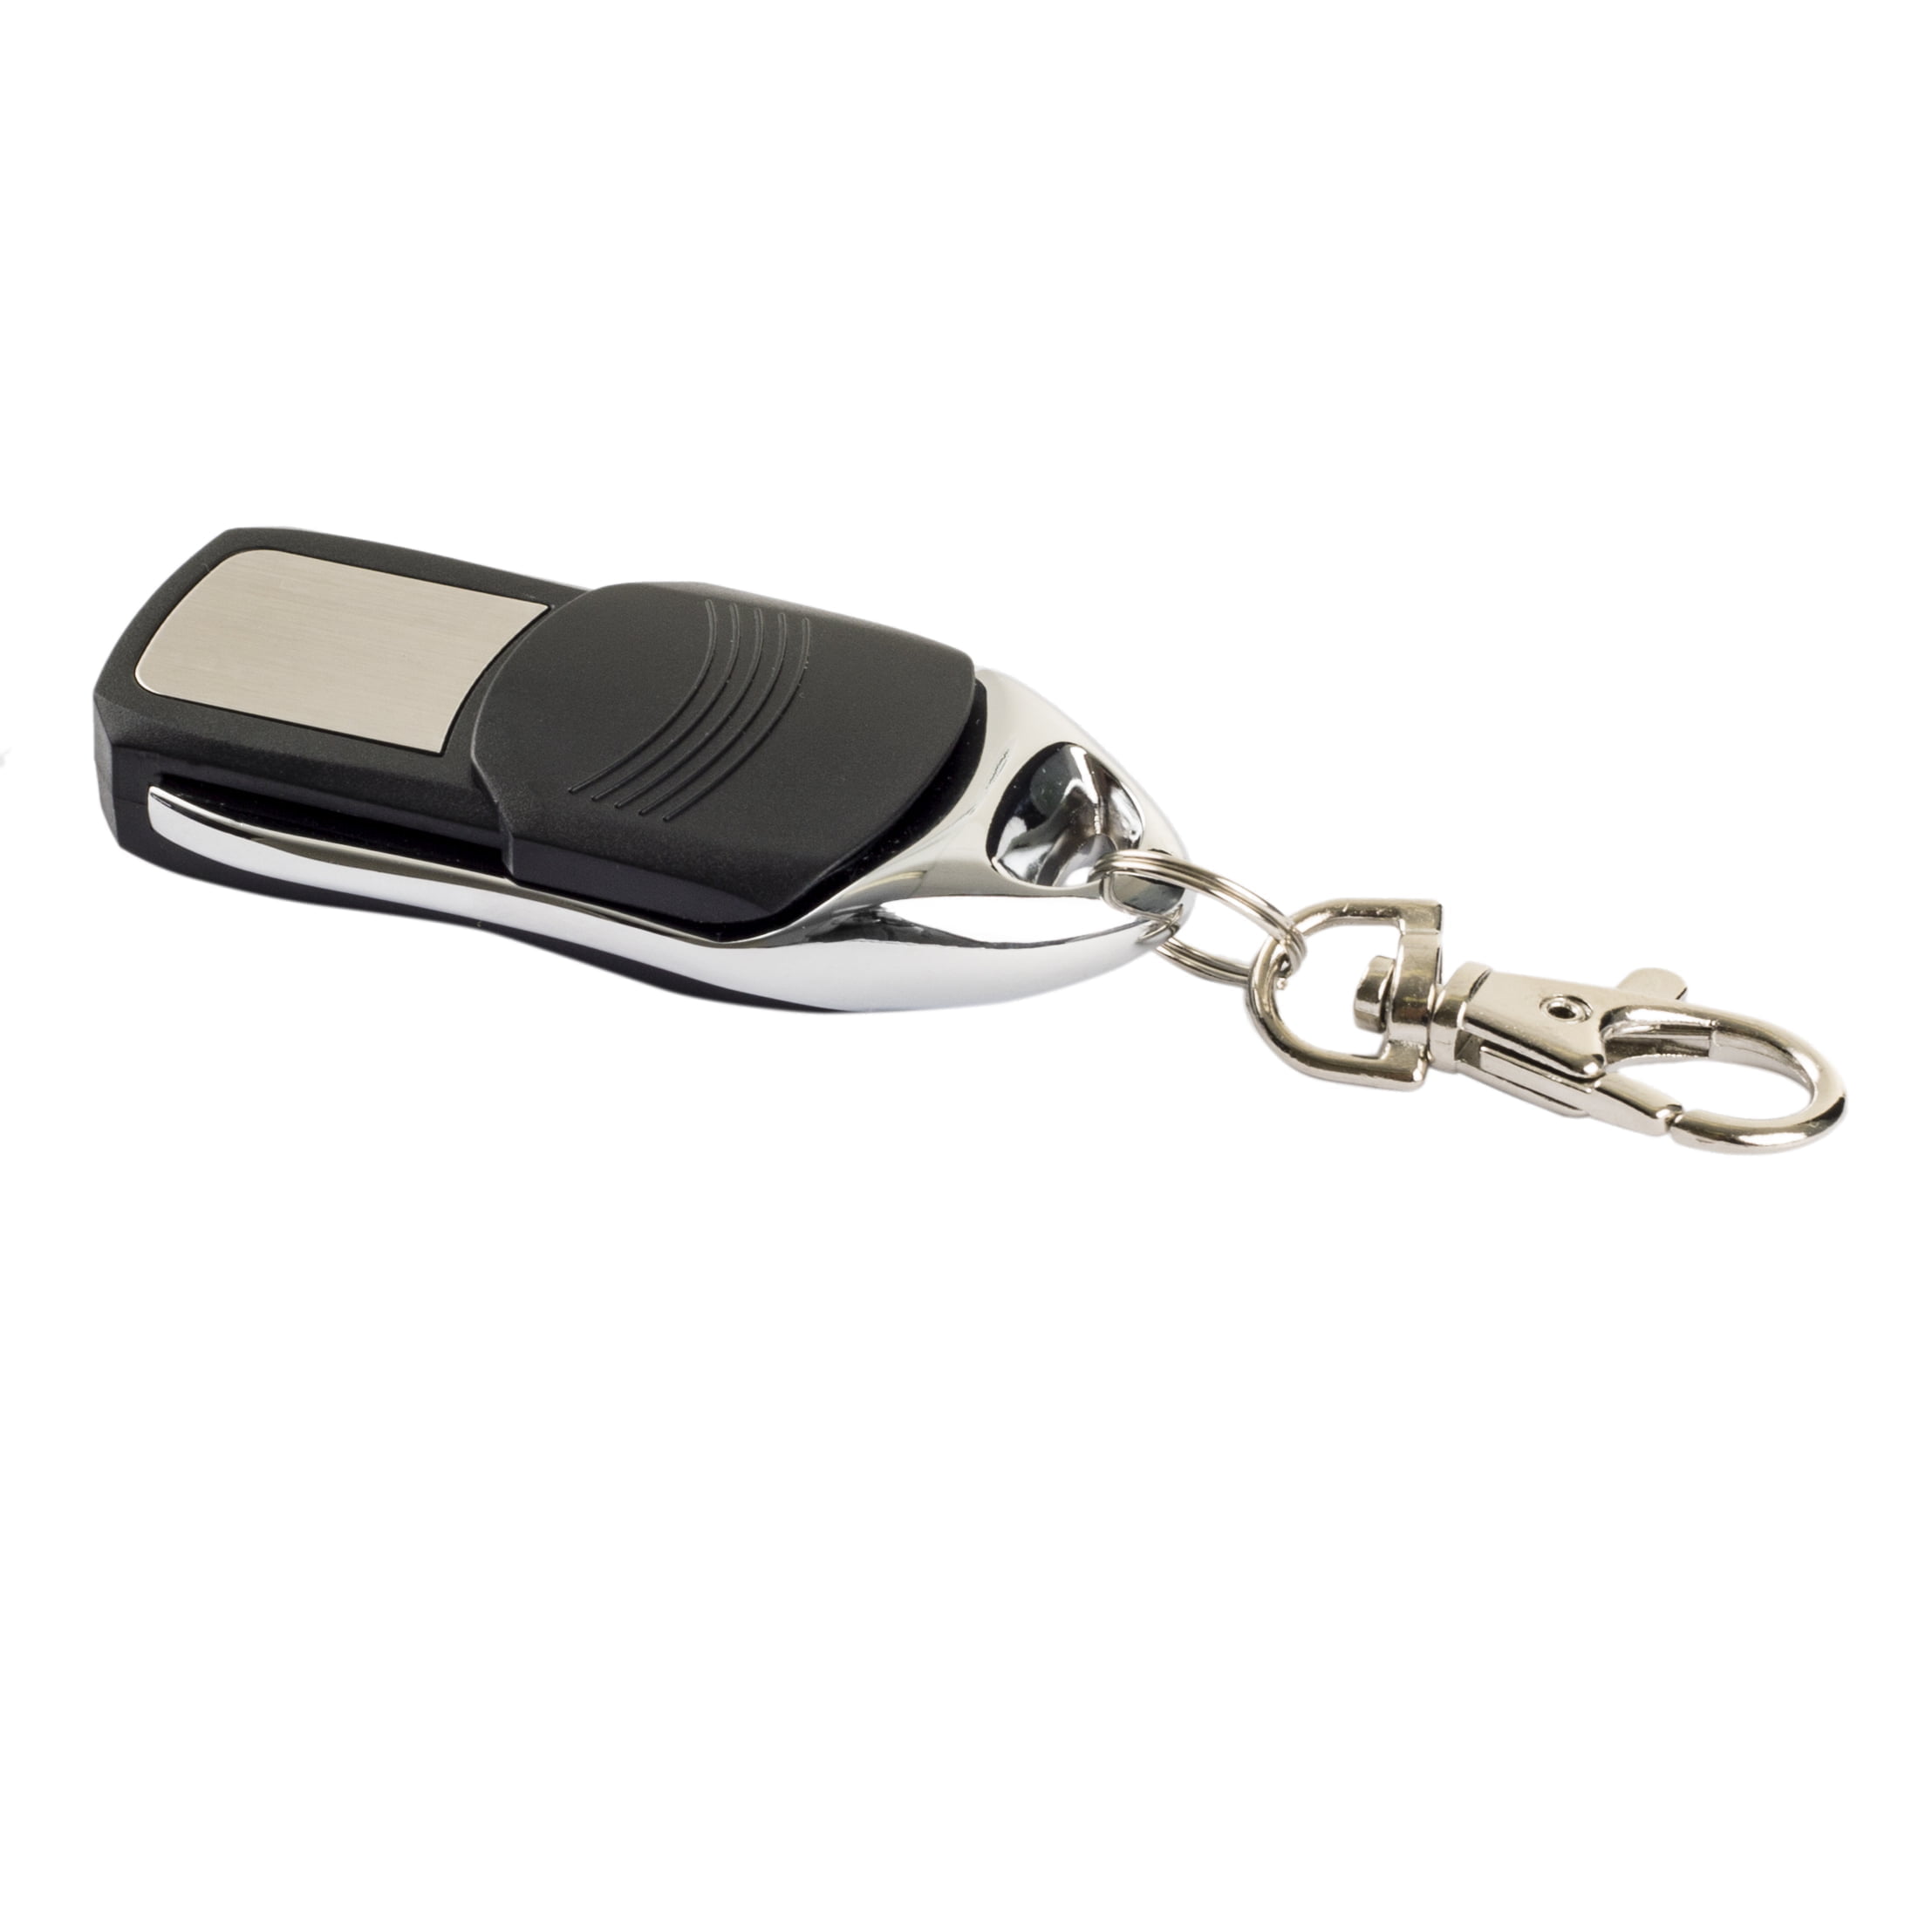
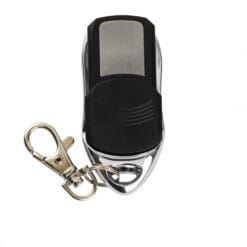
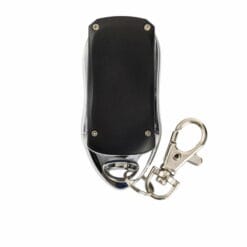
With a black casing complemented by a sturdy metal trim, these remotes are built to last. The sliding cover protects the buttons from dust and accidental presses, helping prolong the lifespan of the remote. Its compact design makes it practical and easy to carry without being bulky or cumbersome. This four-button, 4-channel remote allows you to control multiple garage doors or gate systems from one device, offering the same functionality and reliability you would expect from the RPC407 model. You can replace your old or lost remote without paying extra purely for branding.
RPC407 Remote Programming Instructions for BFT Receivers
There are many different types of receivers, so coding varies based on the type of receiver that you have. If your receiver has a digital screen, use OPTION 2. If your receiver does not have a digital screen, use OPTION 1.
OPTION 1: Receiver without digital screen
1. Open your motor and try and find the receiver. If your receiver is in a case, then remove the casing. You are trying to find something that looks like a control board.
2. If you wish the transmitter to activate output 1, press push button SW1, otherwise press push button SW2 to activate output 2. The LED light on receiver will start to flash.
3. Press and release the number “3” and the number “4” button on your new remote control at the same time. The will cause the LED to stop flashing, and remain illuminated.
4. Press and release the number any button on your new remote control that you want to use to control your garage/gate. This will cause the LED to flash fast. This indicates that that button on your new remote has been coded. After about 1 second, the LED will continue flashing, but will be flashing slowly.
5. If you would like to code in additional remotes, this is the time to do it. You will need to start again using the additional remote and complete steps 3 & 4 for each additional remote. Whether you code additional remotes or not, once you have finished coding your remote(s), the LED should be flashing slowly.
6. Wait 15 seconds.
7. Your new remote control/s are now programmed.
OPTION 2: Receiver with digital screen
1. Press the “OK” button on your receiver twice. The screen displays “PARA.”
2. Press the “-“ button on your receiver twice. The screen displays “RADIO.”
3. Press the “OK” button on your receiver once. The screen displays “ADJ STRT.”
4. Press the “OK” button on your receiver once. The screen displays “Hidden Button.”
5. Press the number “3” and the number “4” button on your new remote control at the same time. Keep them pressed down.
6. Keep holding the buttons down until the screen displays “released”. Let the buttons go. The screen displays “Desired Button”.
7. Press and release the button on your new remote control that you want to use to control your gate/garage. The screen displays “OK”.
8. If you would like to program an additional remote: When “ADJ STRT” appears, press “OK” to code an additional remote, and follow the instructions displayed.
9. After coding the remote(s), wait about 30 seconds. Now you remote is coded.


Reviews
There are no reviews yet.